
What Is Microsoft Lists and How Do You Use It?
5 min read
Key Takeaways
- Microsoft Lists is a user-friendly app for creating lists, such as groceries and travel packing lists.
- Create your lists from scratch in Microsoft Lists, or choose one of the many templates available.
- Microsoft Lists is completely free to use. All you need is a Microsoft personal account.
Learn everything you need to know about Microsoft Lists in this complete guide. We’ll show you how to use all the app’s best features with in-depth walkthroughs, along with telling you how to get it and much more.
What Is Microsoft Lists?
Microsoft Lists is an app that lets you compile lists for all kinds of occasions. You can use it as a daily to-do list, but it’s also ideal if you want to put together recipes and track multiple professional metrics. The app is one of Microsoft’s newer services, having been released in 2020.
Originally, Microsoft created Lists for businesses. But since 2023, everyone with a Microsoft account has access to the app. You can use Microsoft Lists for free, and it’s available across multiple devices.
Download: Microsoft Lists for iOS / iPadOS | Android (Free)
Is Microsoft Lists the Same as Microsoft To Do?
While Lists has a lot in common with Microsoft’s To Do app, the two are not the same. Microsoft To Do is exclusively for to-do lists, whereas you can use Lists for all kinds of projects. While you can create to-do lists, it’s also great for making travel checklists, grocery shopping lists, and much more.
What Can You Do With Microsoft Lists?
Microsoft Lists lets you do a whole host of different things. Below are some of the best ways you can use Microsoft Lists.
1. Use Microsoft Lists to Create General Lists
One of Microsoft Lists’ biggest advantages is how versatile it is. You can use the app to create packing checklists for upcoming trips, and it’s also ideal as a general to-do list for each day. Another way you can use Microsoft Lists is to make lists within different categories (and keep everything well-organized).
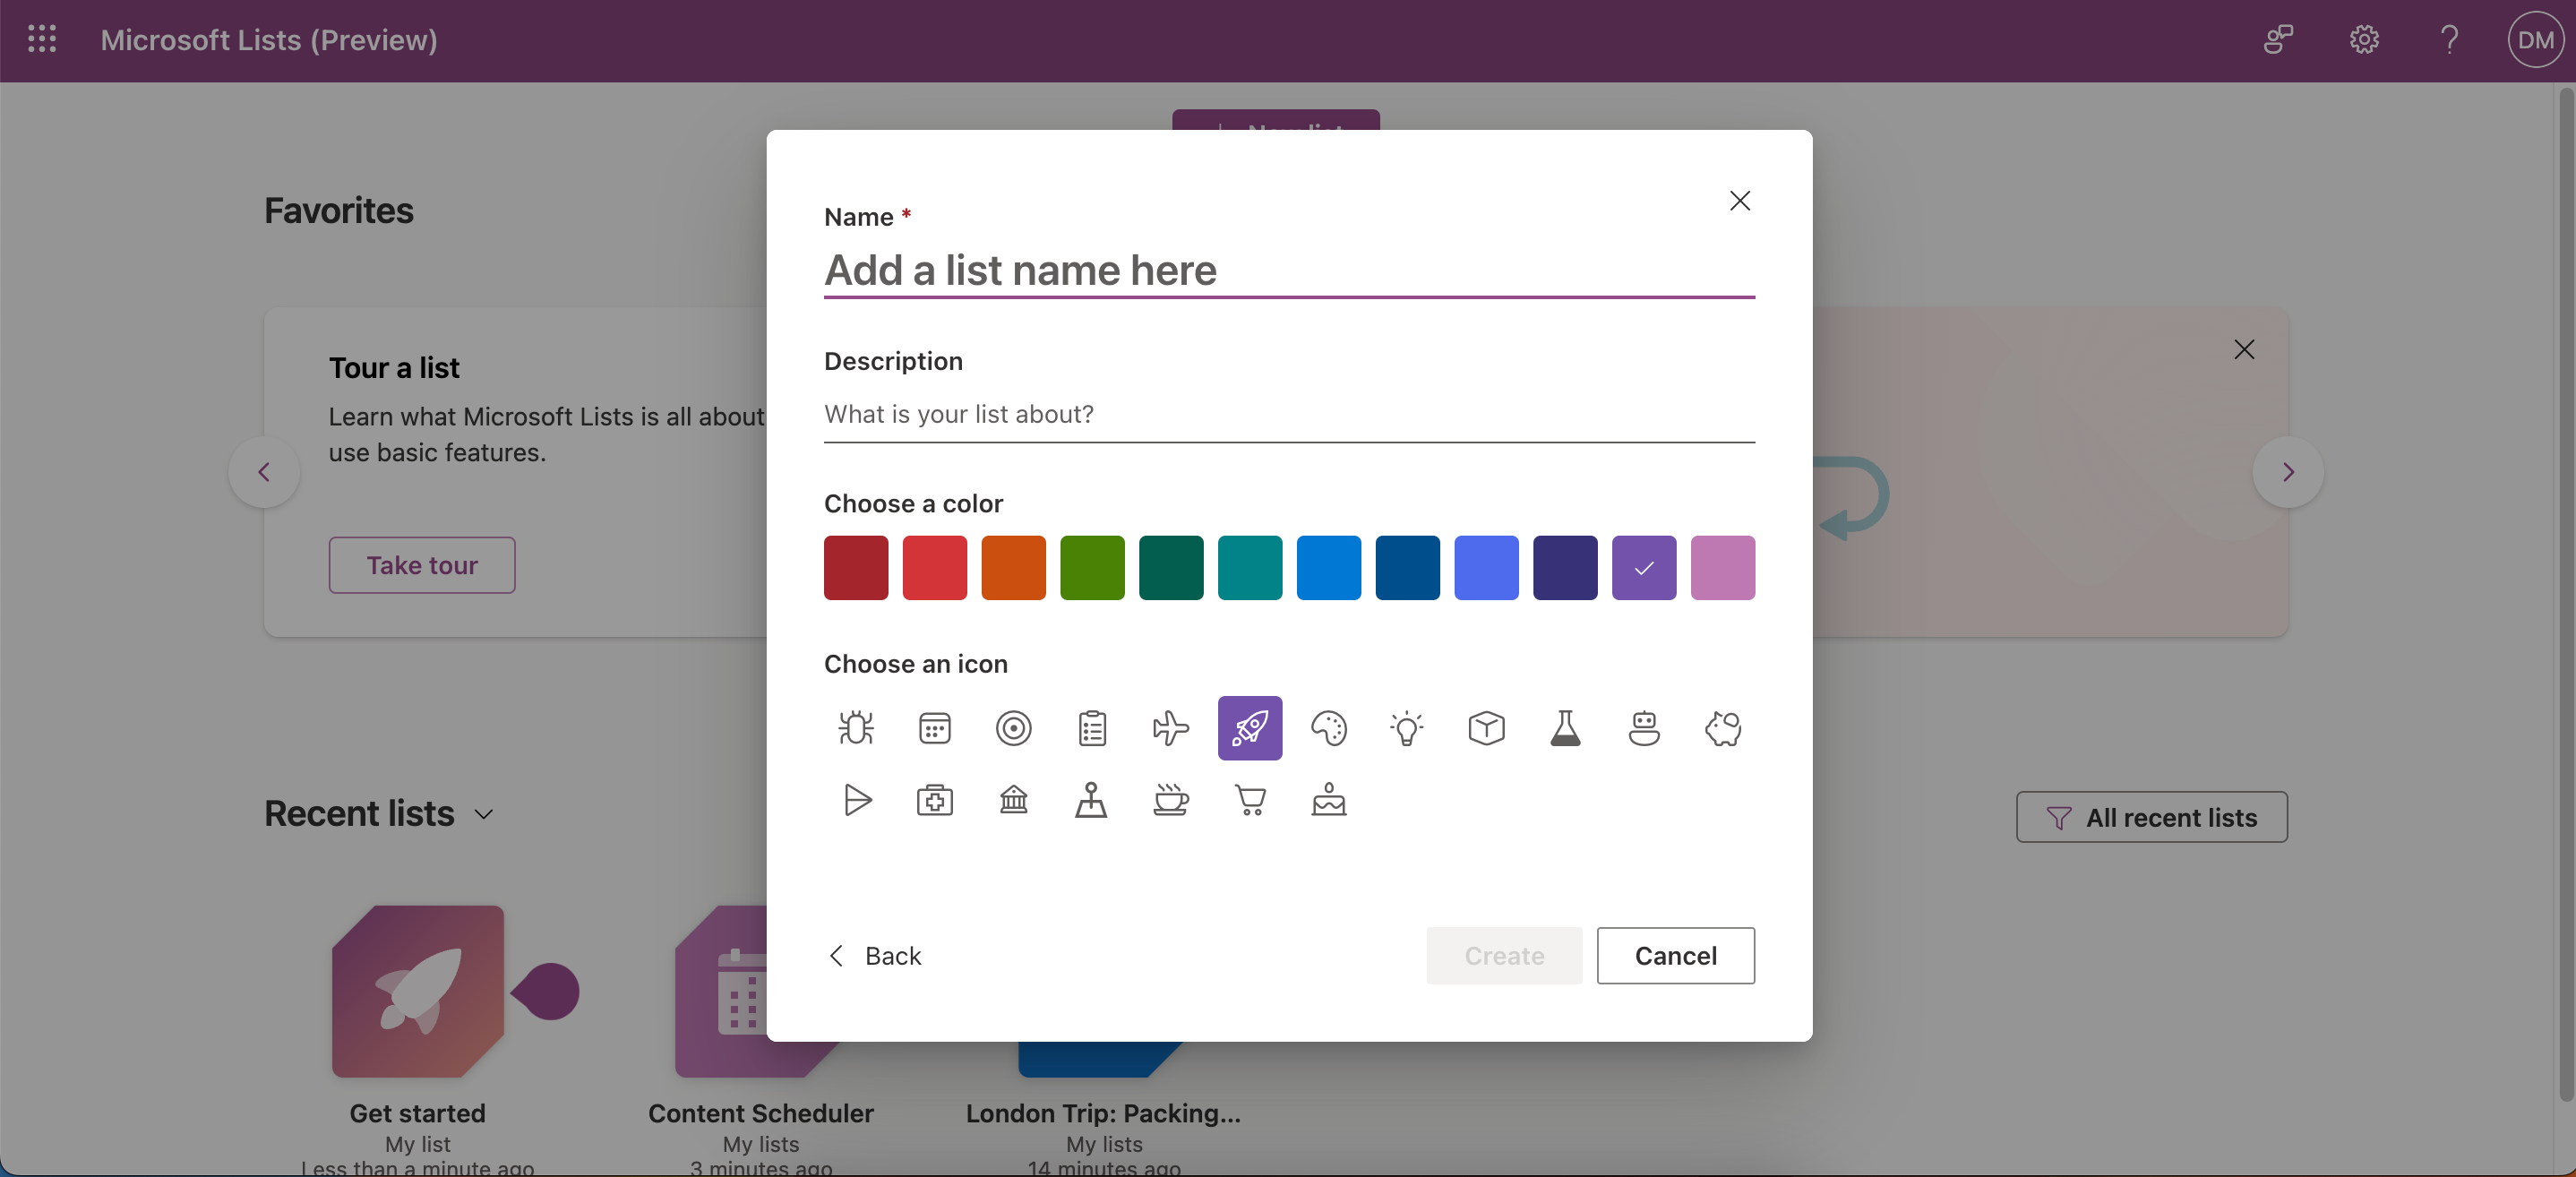
When creating lists in the app, you can customize them by adding colors, descriptions, names, and icons.
2. Professional Use
Considering that Microsoft Lists was originally designed for professional use, it’s no surprise that the app has lots of benefits if you want to use it in your workplace. You can use Microsoft Lists to create content calendars, organize everyone’s workflows, and keep track of various processes—such as onboarding progress.
Even if you don’t use it with other people, you may still find Microsoft Lists beneficial to use on your own. You can use it to track your projects as a student, for example. Besides using Microsoft Lists, you may also want to take a look at these tips to increase your productivity during class if you’re at school or college.
3. Share Your Lists With Others
You might need to share your lists with others for several reasons. For example, you might be living with others and have a joint responsibility to do the groceries each week. Similarly, you may be planning a trip with someone else and want to keep everything in one place. Either way, Microsoft Lists makes it easy to collaborate with others.
You can easily share your lists with different users, and it’s also possible to set up rules that alert them when something changes.
How to Use Microsoft Lists
Now that you know more about what you can do with Microsoft Lists, let’s look at how you can use the app. Follow the instructions below to maximize your experience.
1. Create Lists in Microsoft Lists
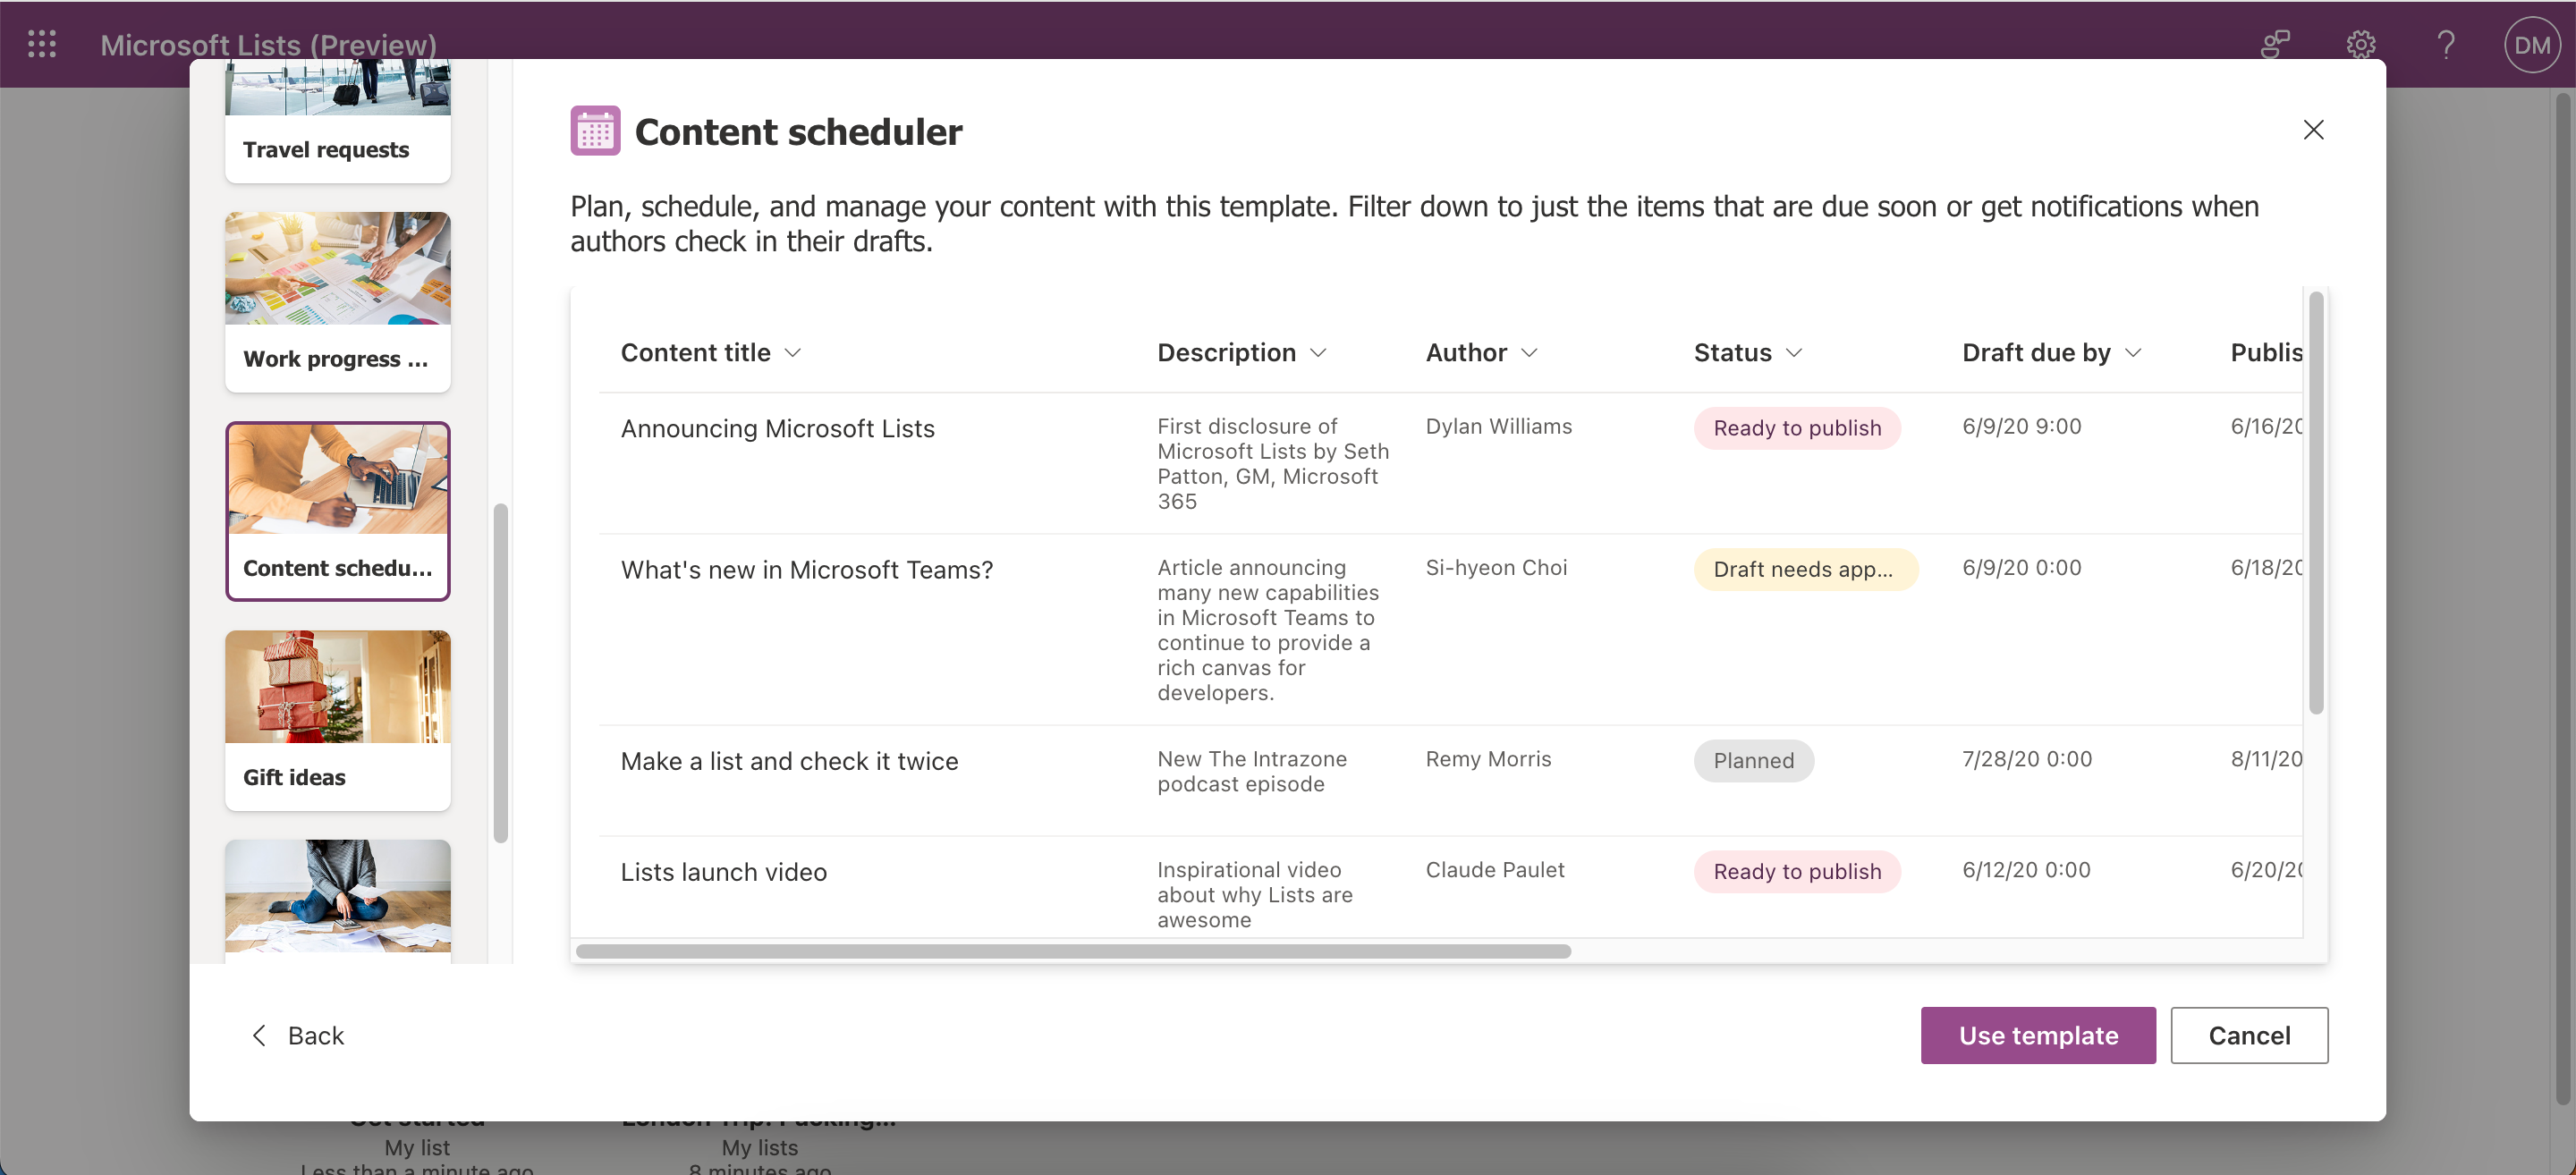
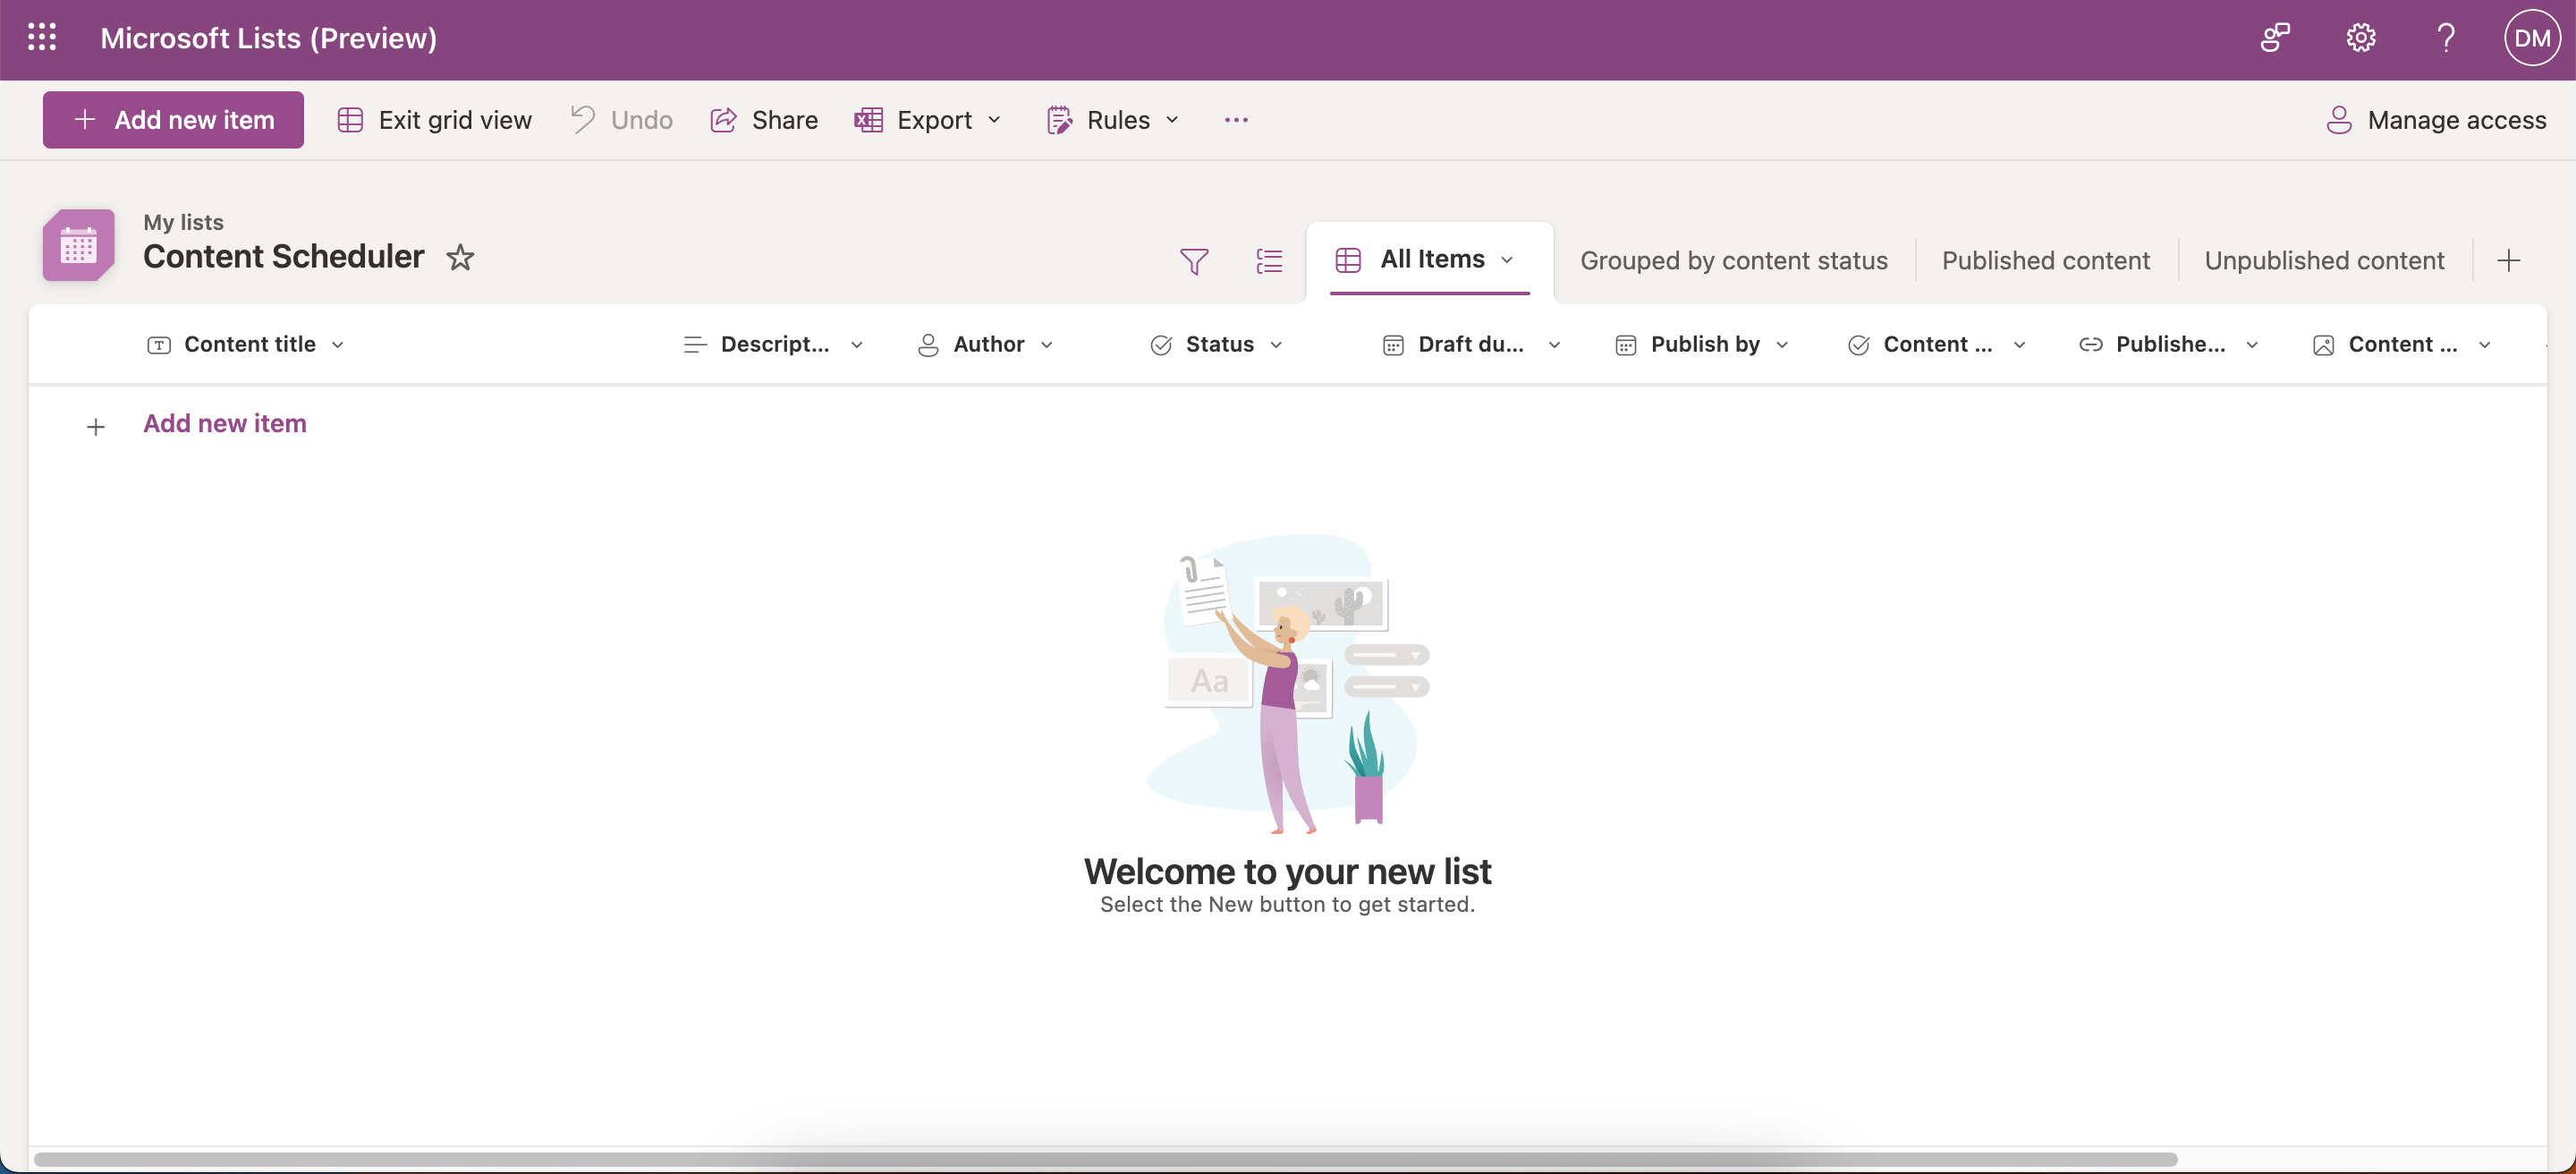
Microsoft Lists lets you create lists from scratch, but you can also choose from a selection of pre-made templates. These include:
- Travel requests
- Work progress tracker
- Tracking expenses
- Content schedulers
- Tracking recipes
It’s easy to make a new list in the app:
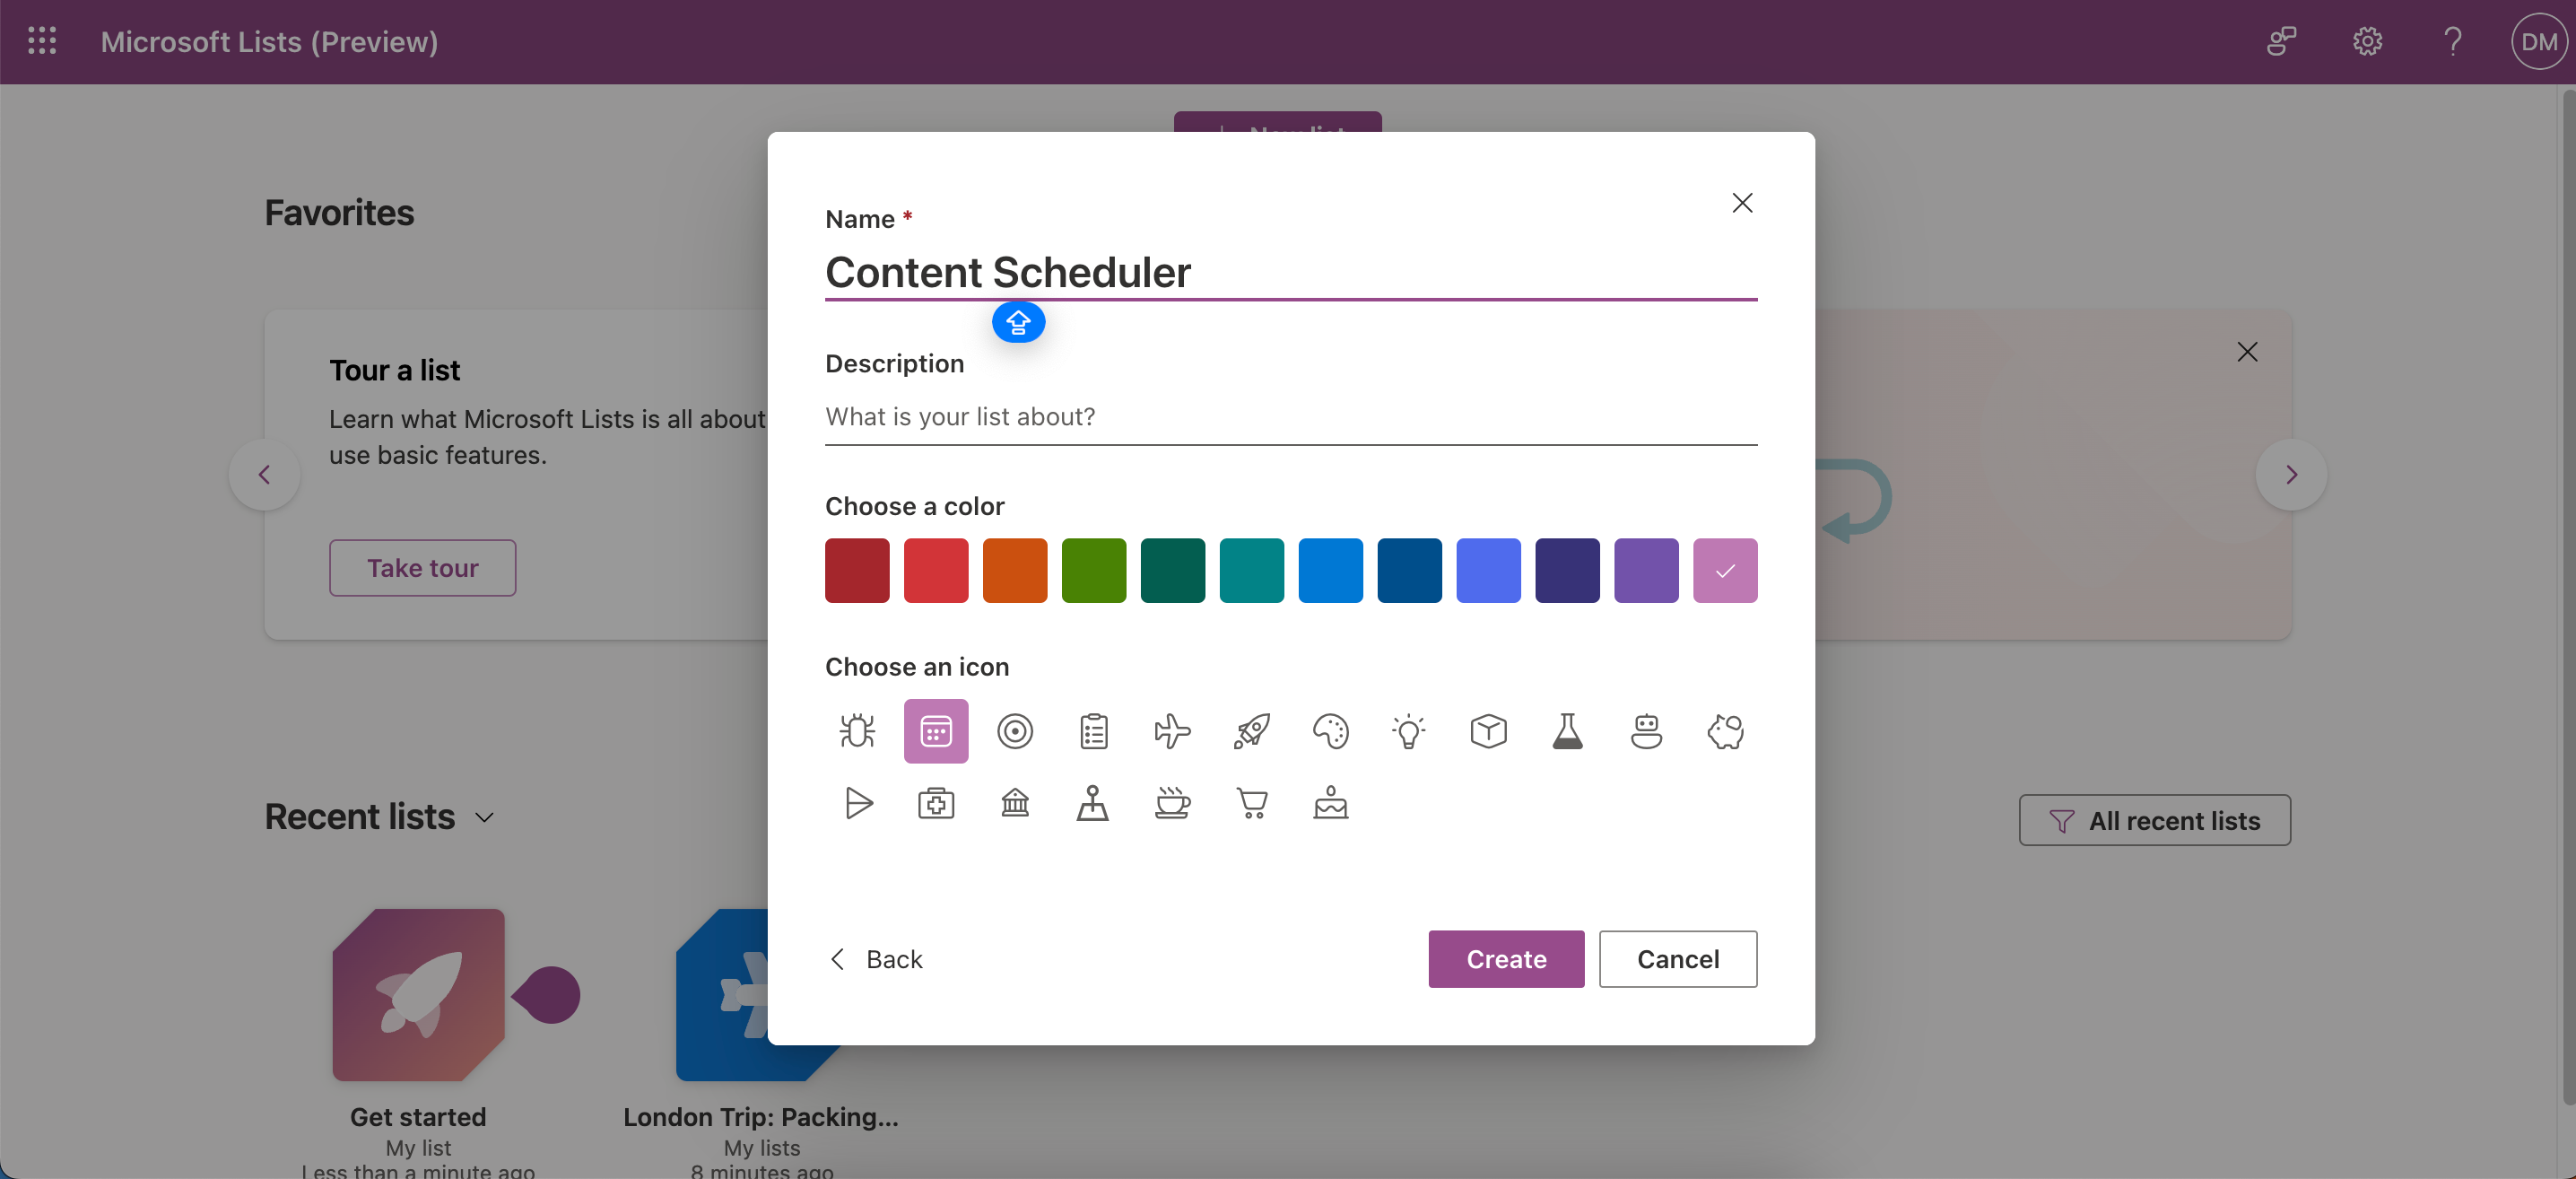
- Select New list.
- Choose Blank list or one of the presets.
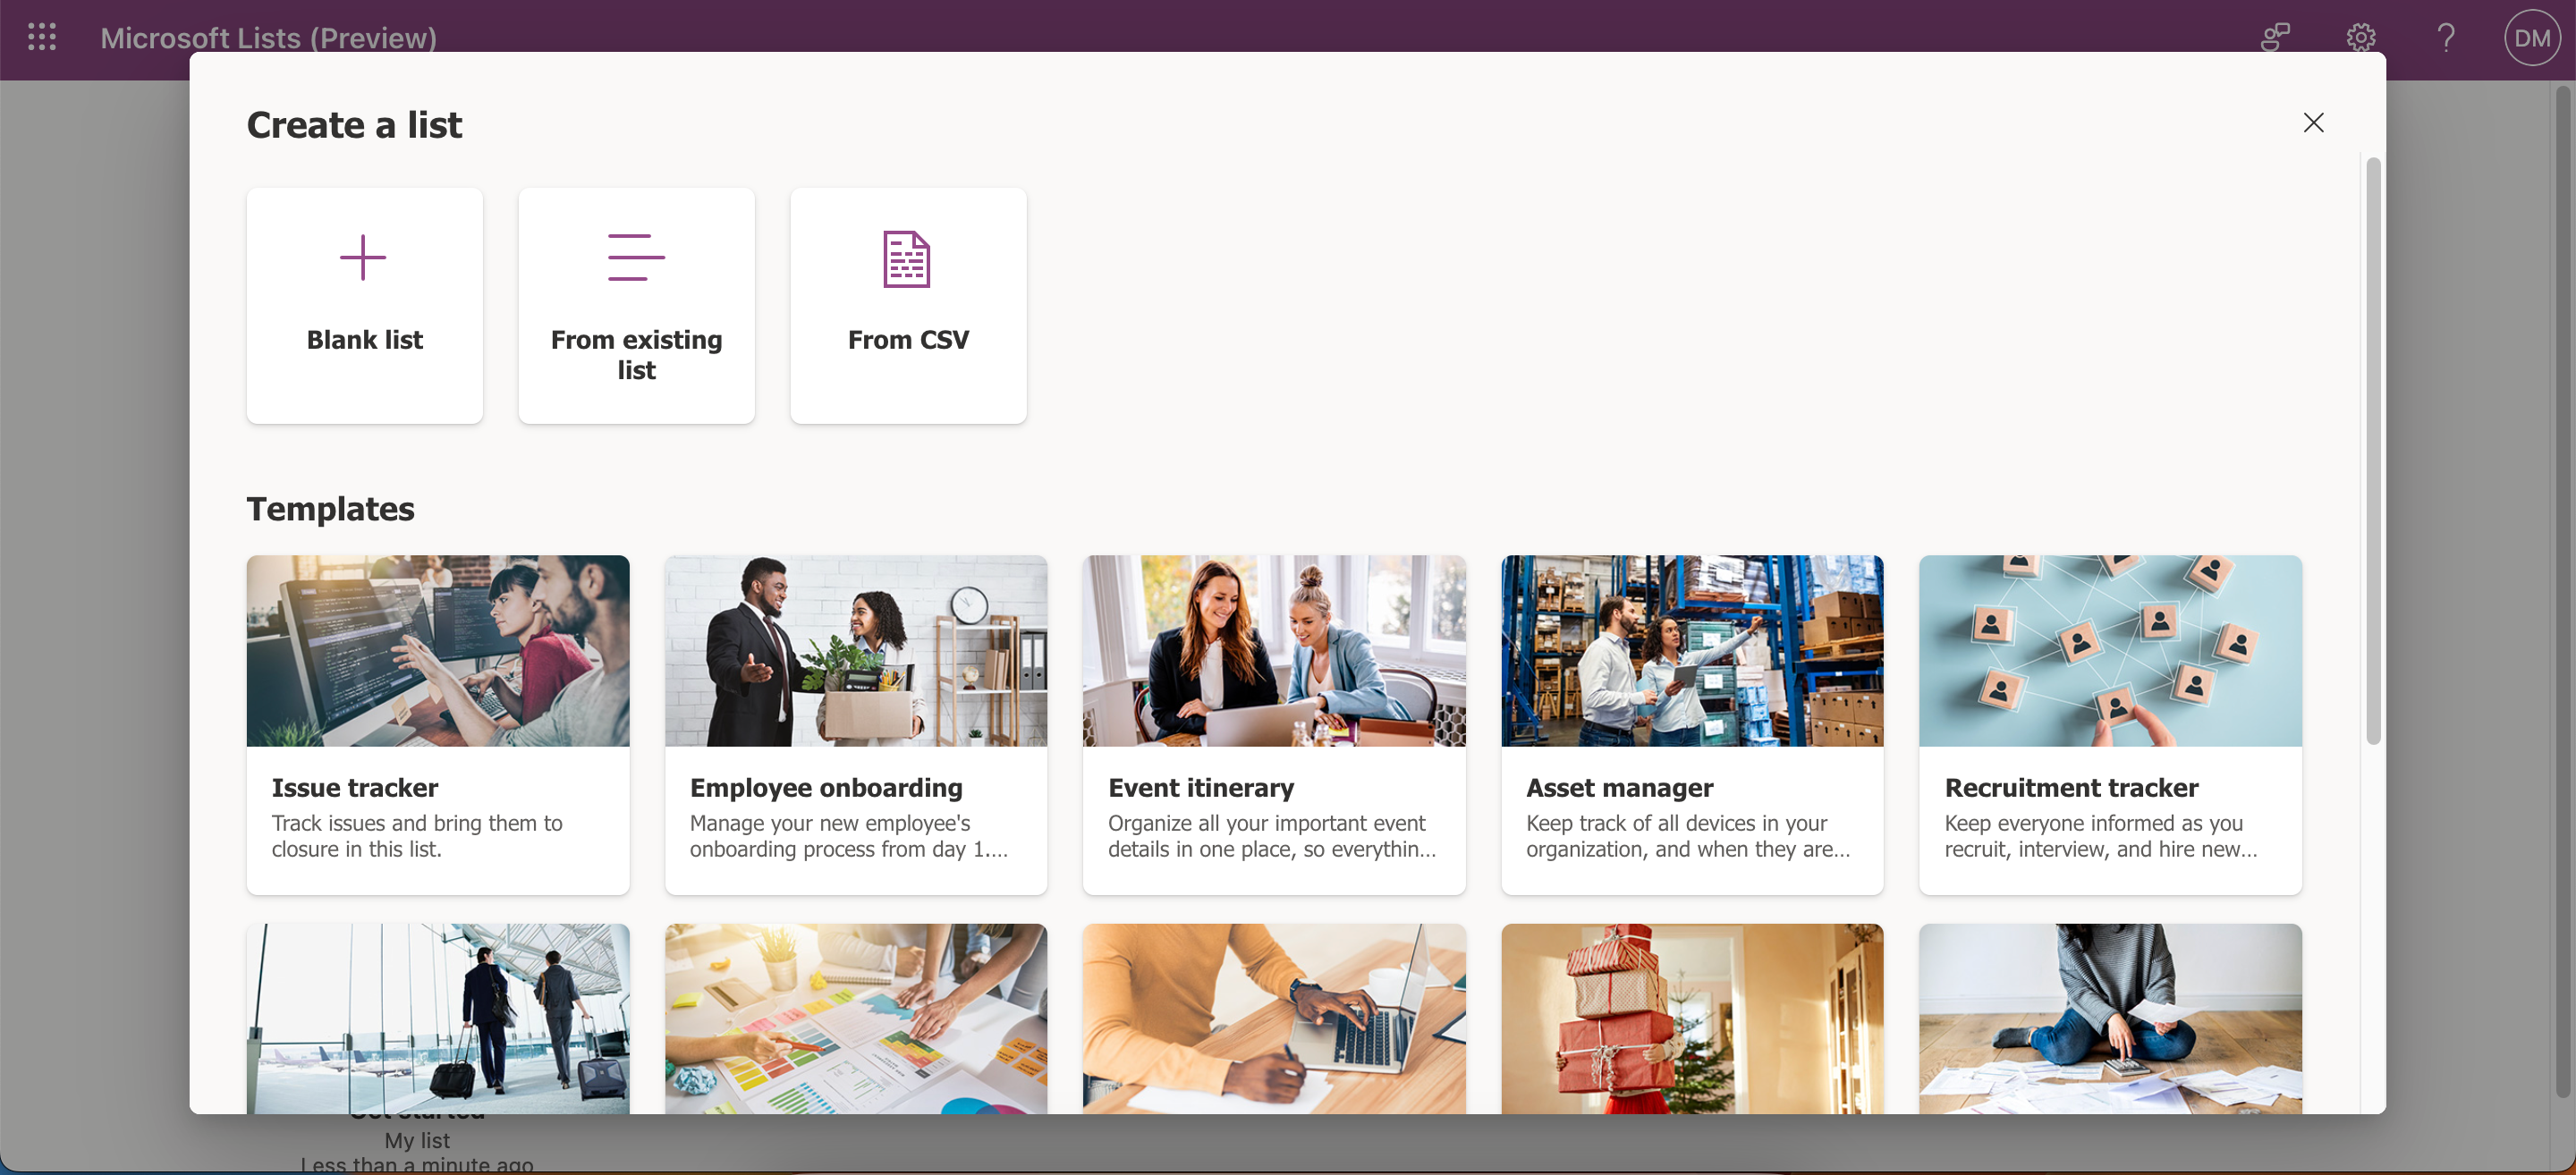
- Change the name, icon, and so on before tapping Create.


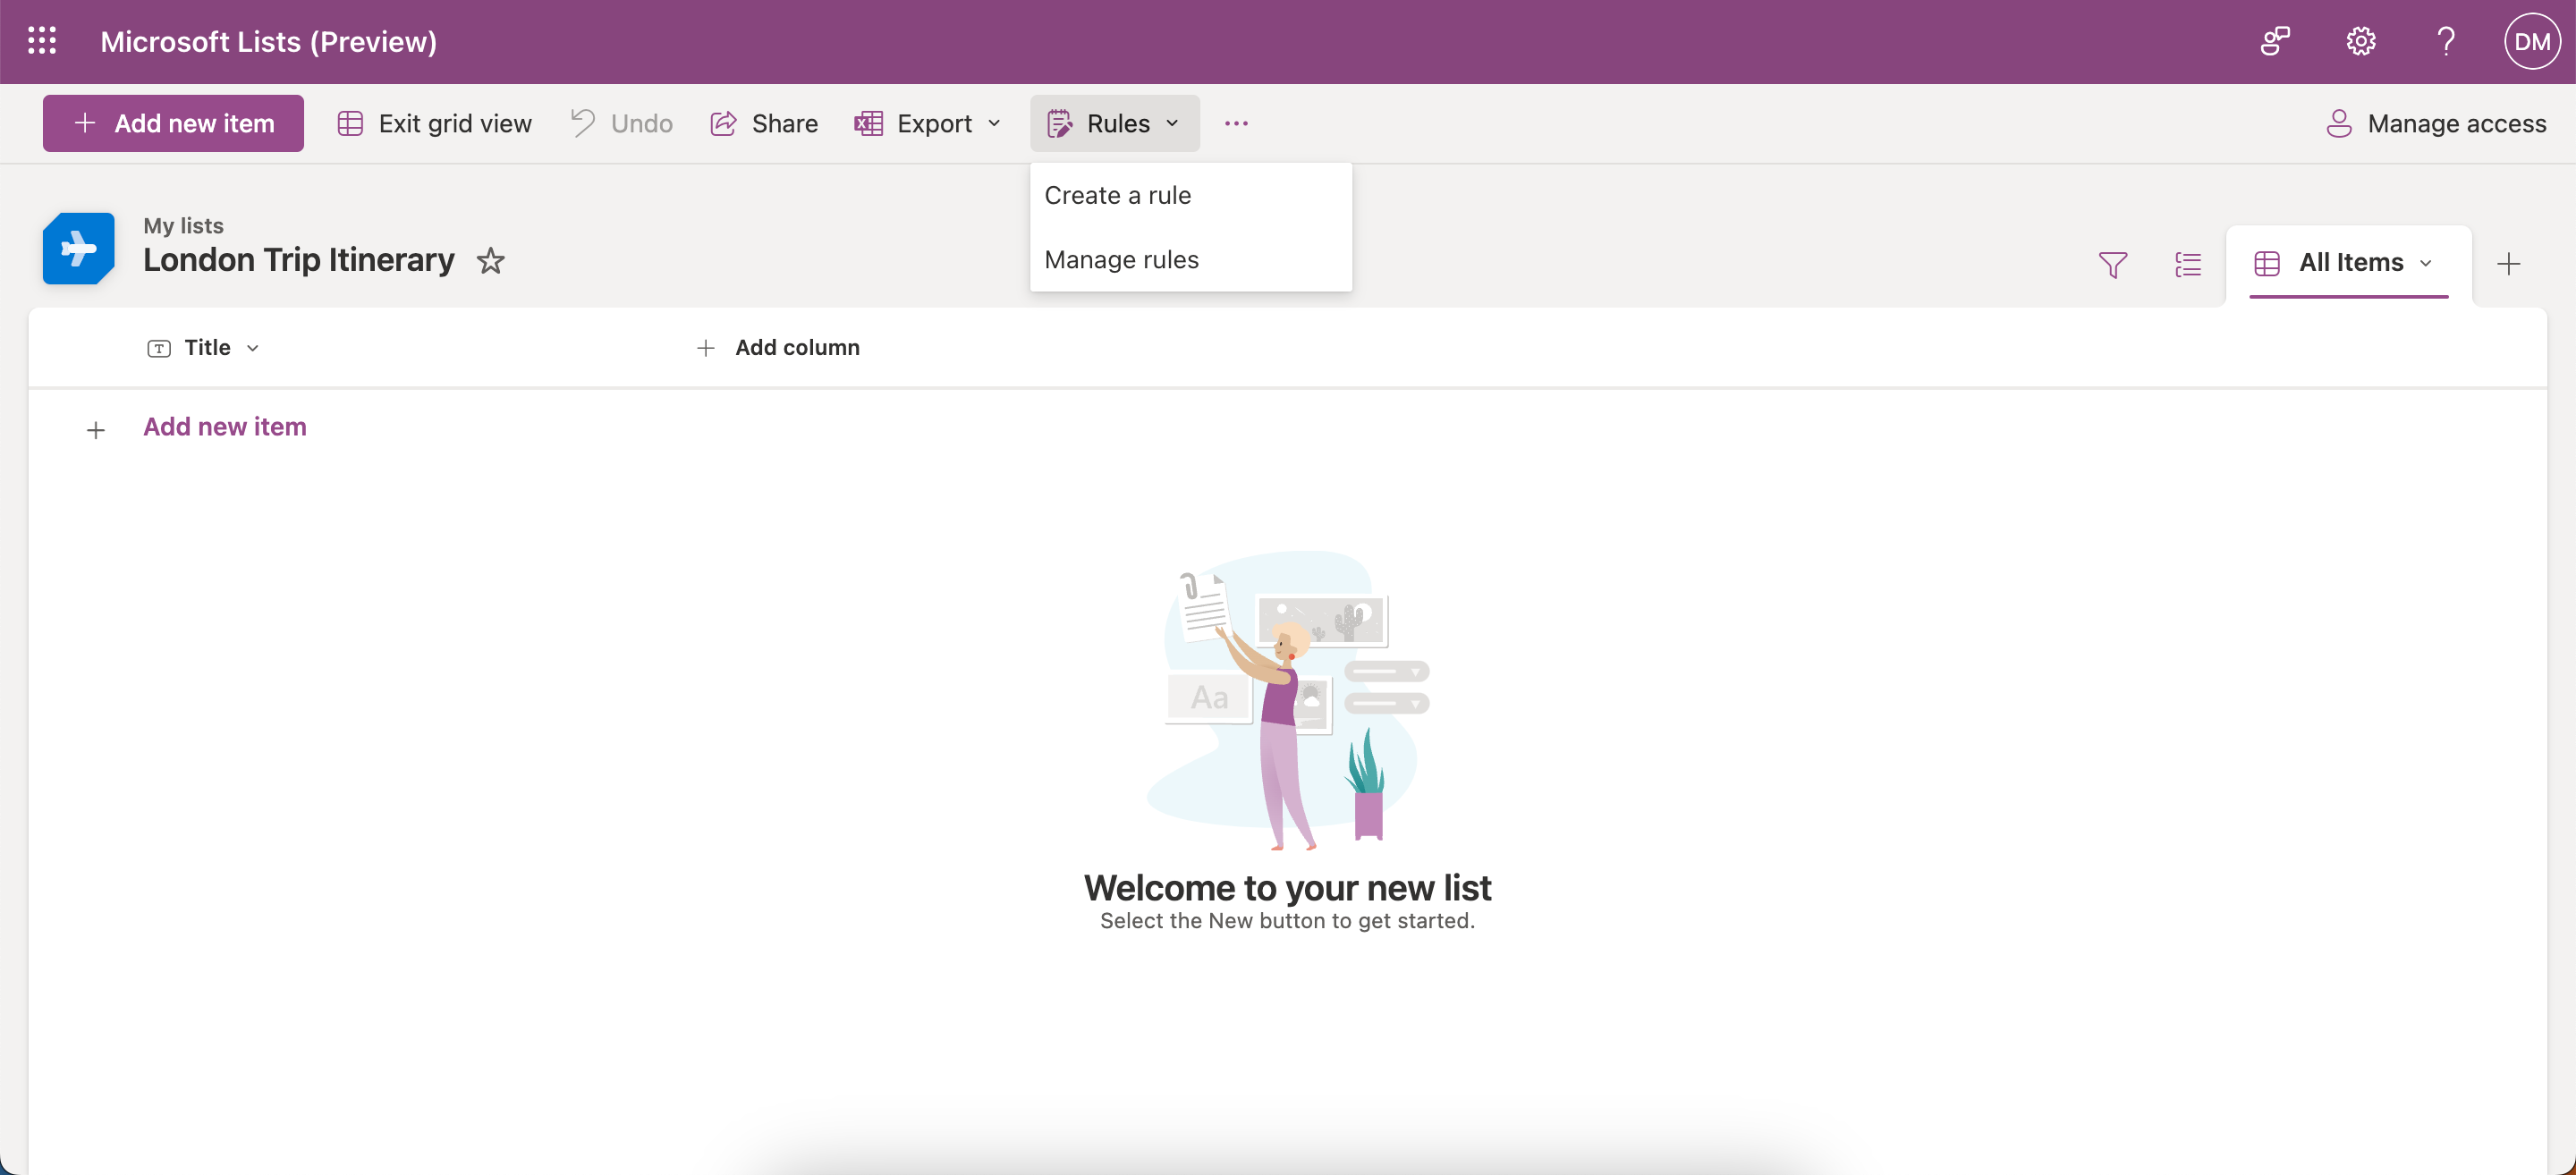
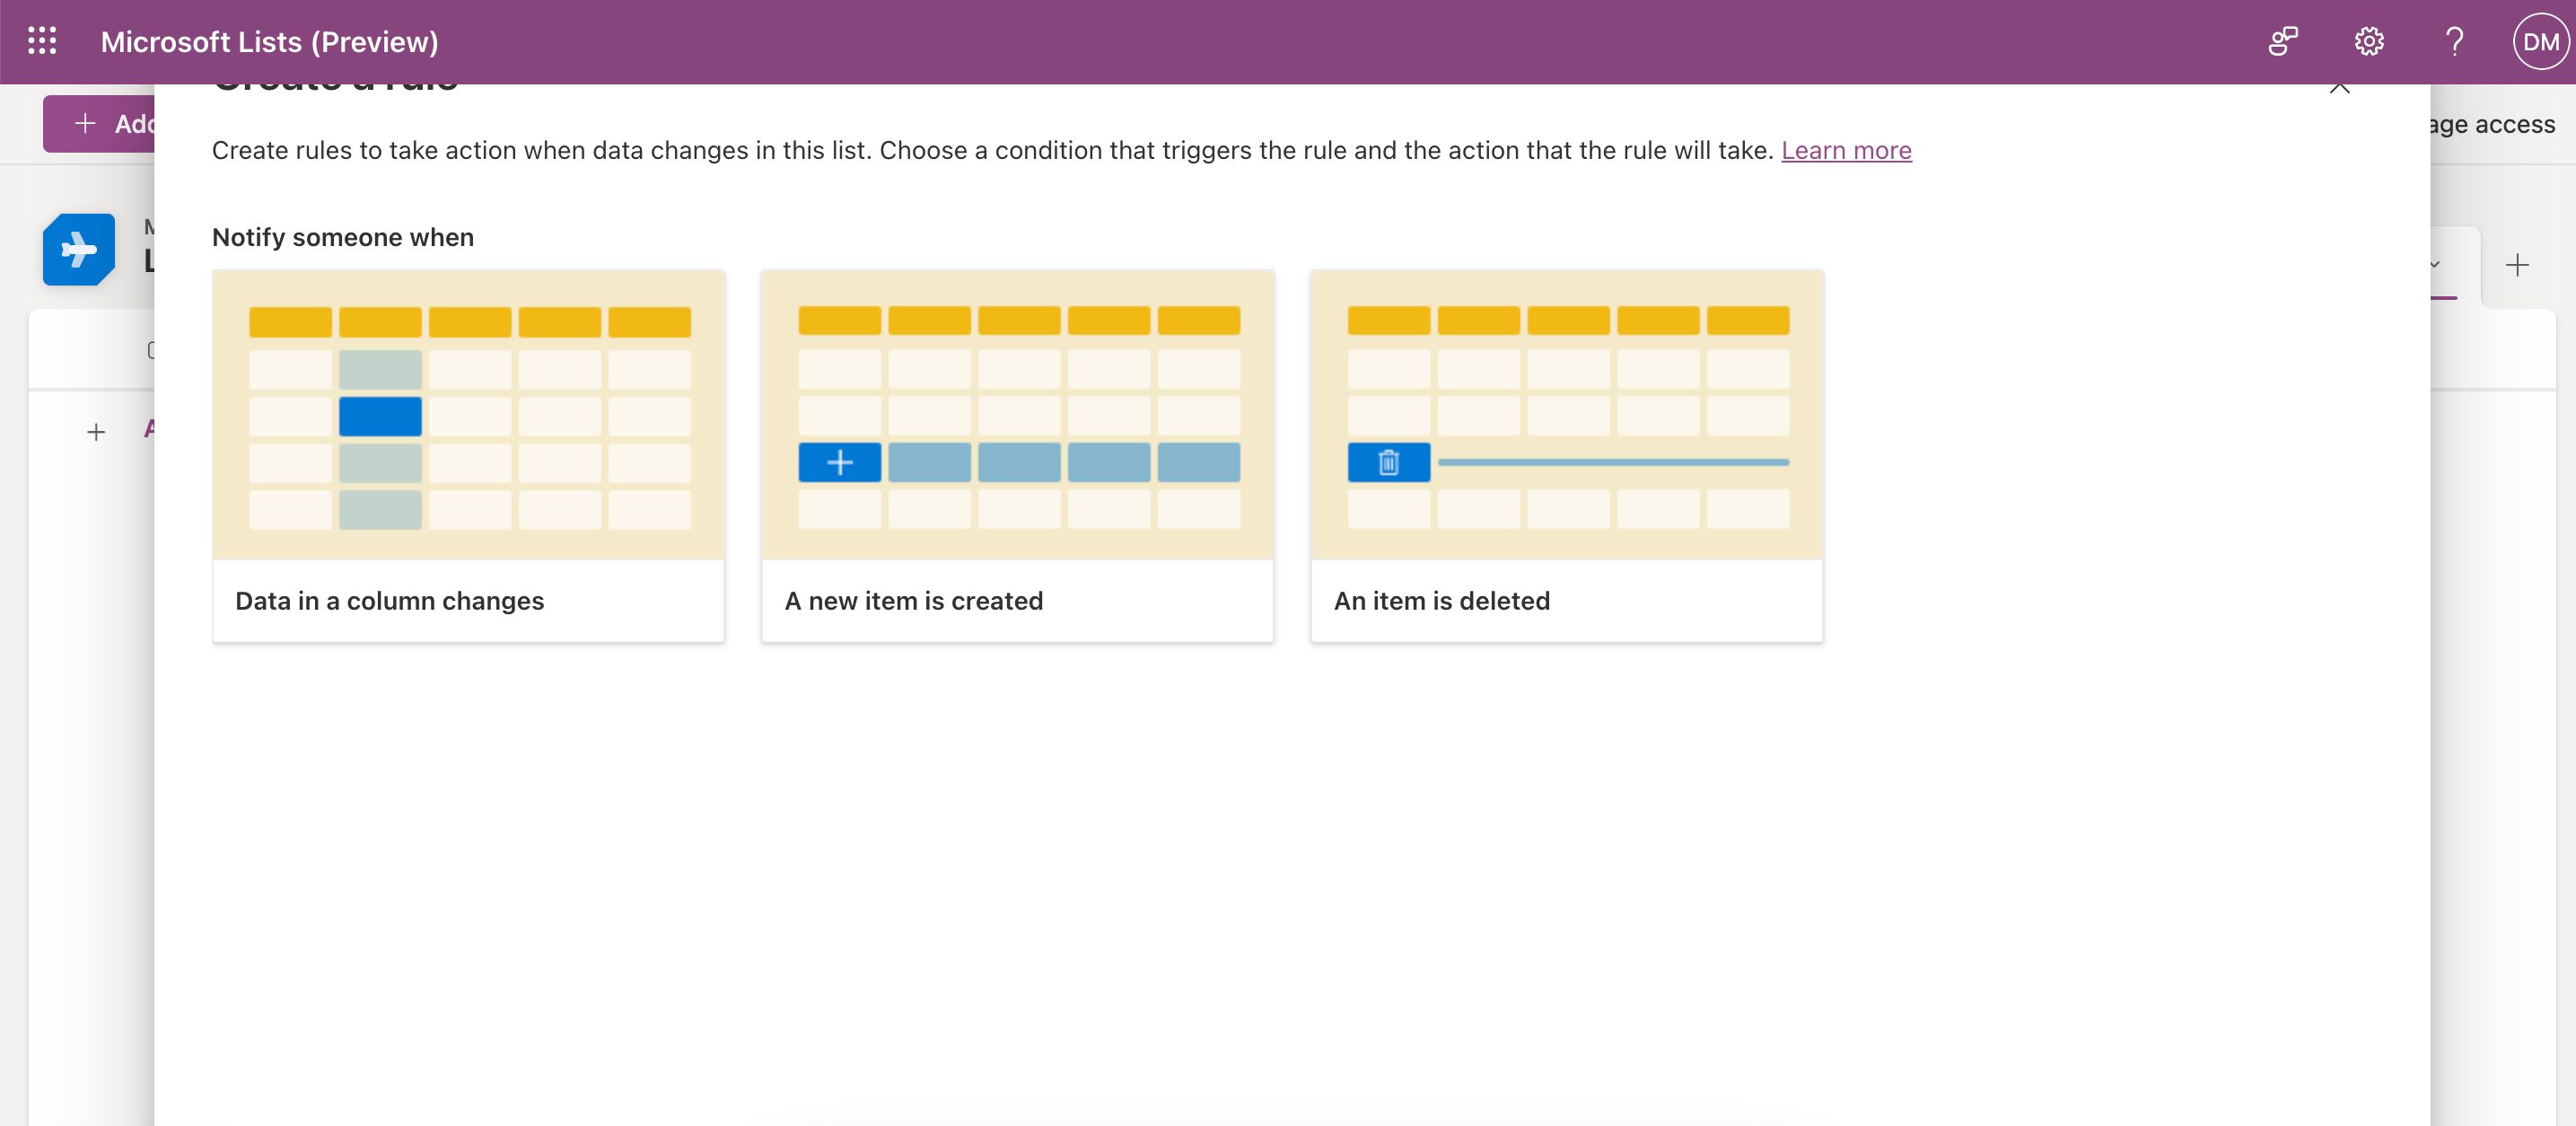
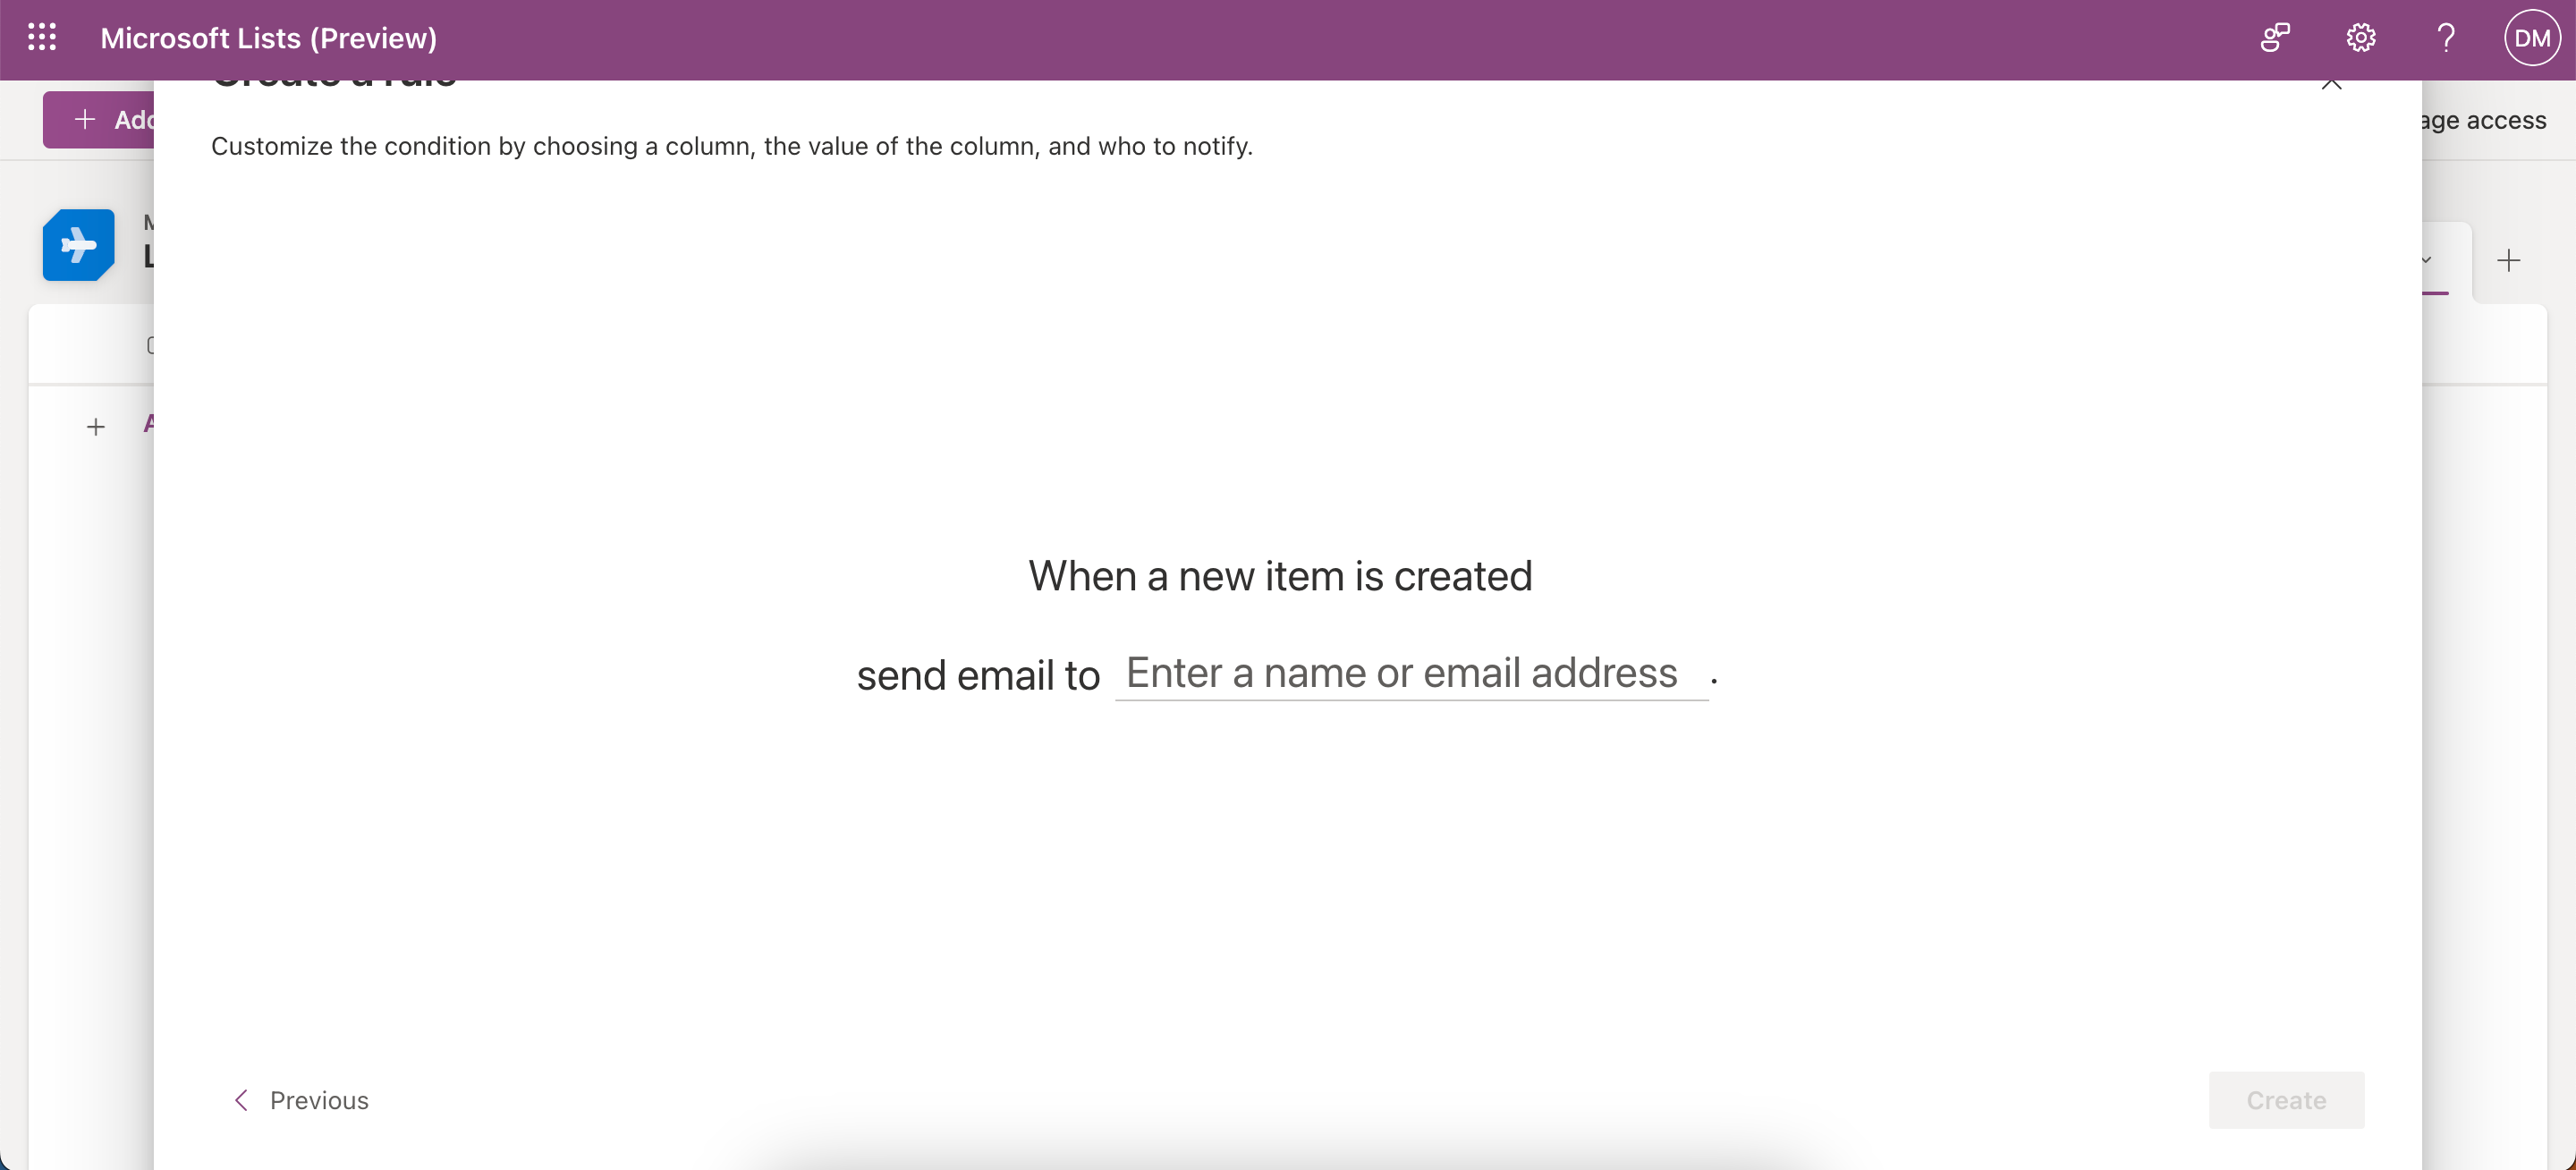
2. Manage Rules Within Your Lists
You can create rules in Microsoft Lists to notify others when different aspects change. If you give list edit access to your collaborators, they can edit the list rules. Follow these steps to create rules:
- Go to Rules > Create a rule.
- Choose one of the rules from the list that then becomes available.
- Enter the name or email address for the person (or people) you want to inform about changes to your list. Then, tap Create in the bottom right-hand corner.


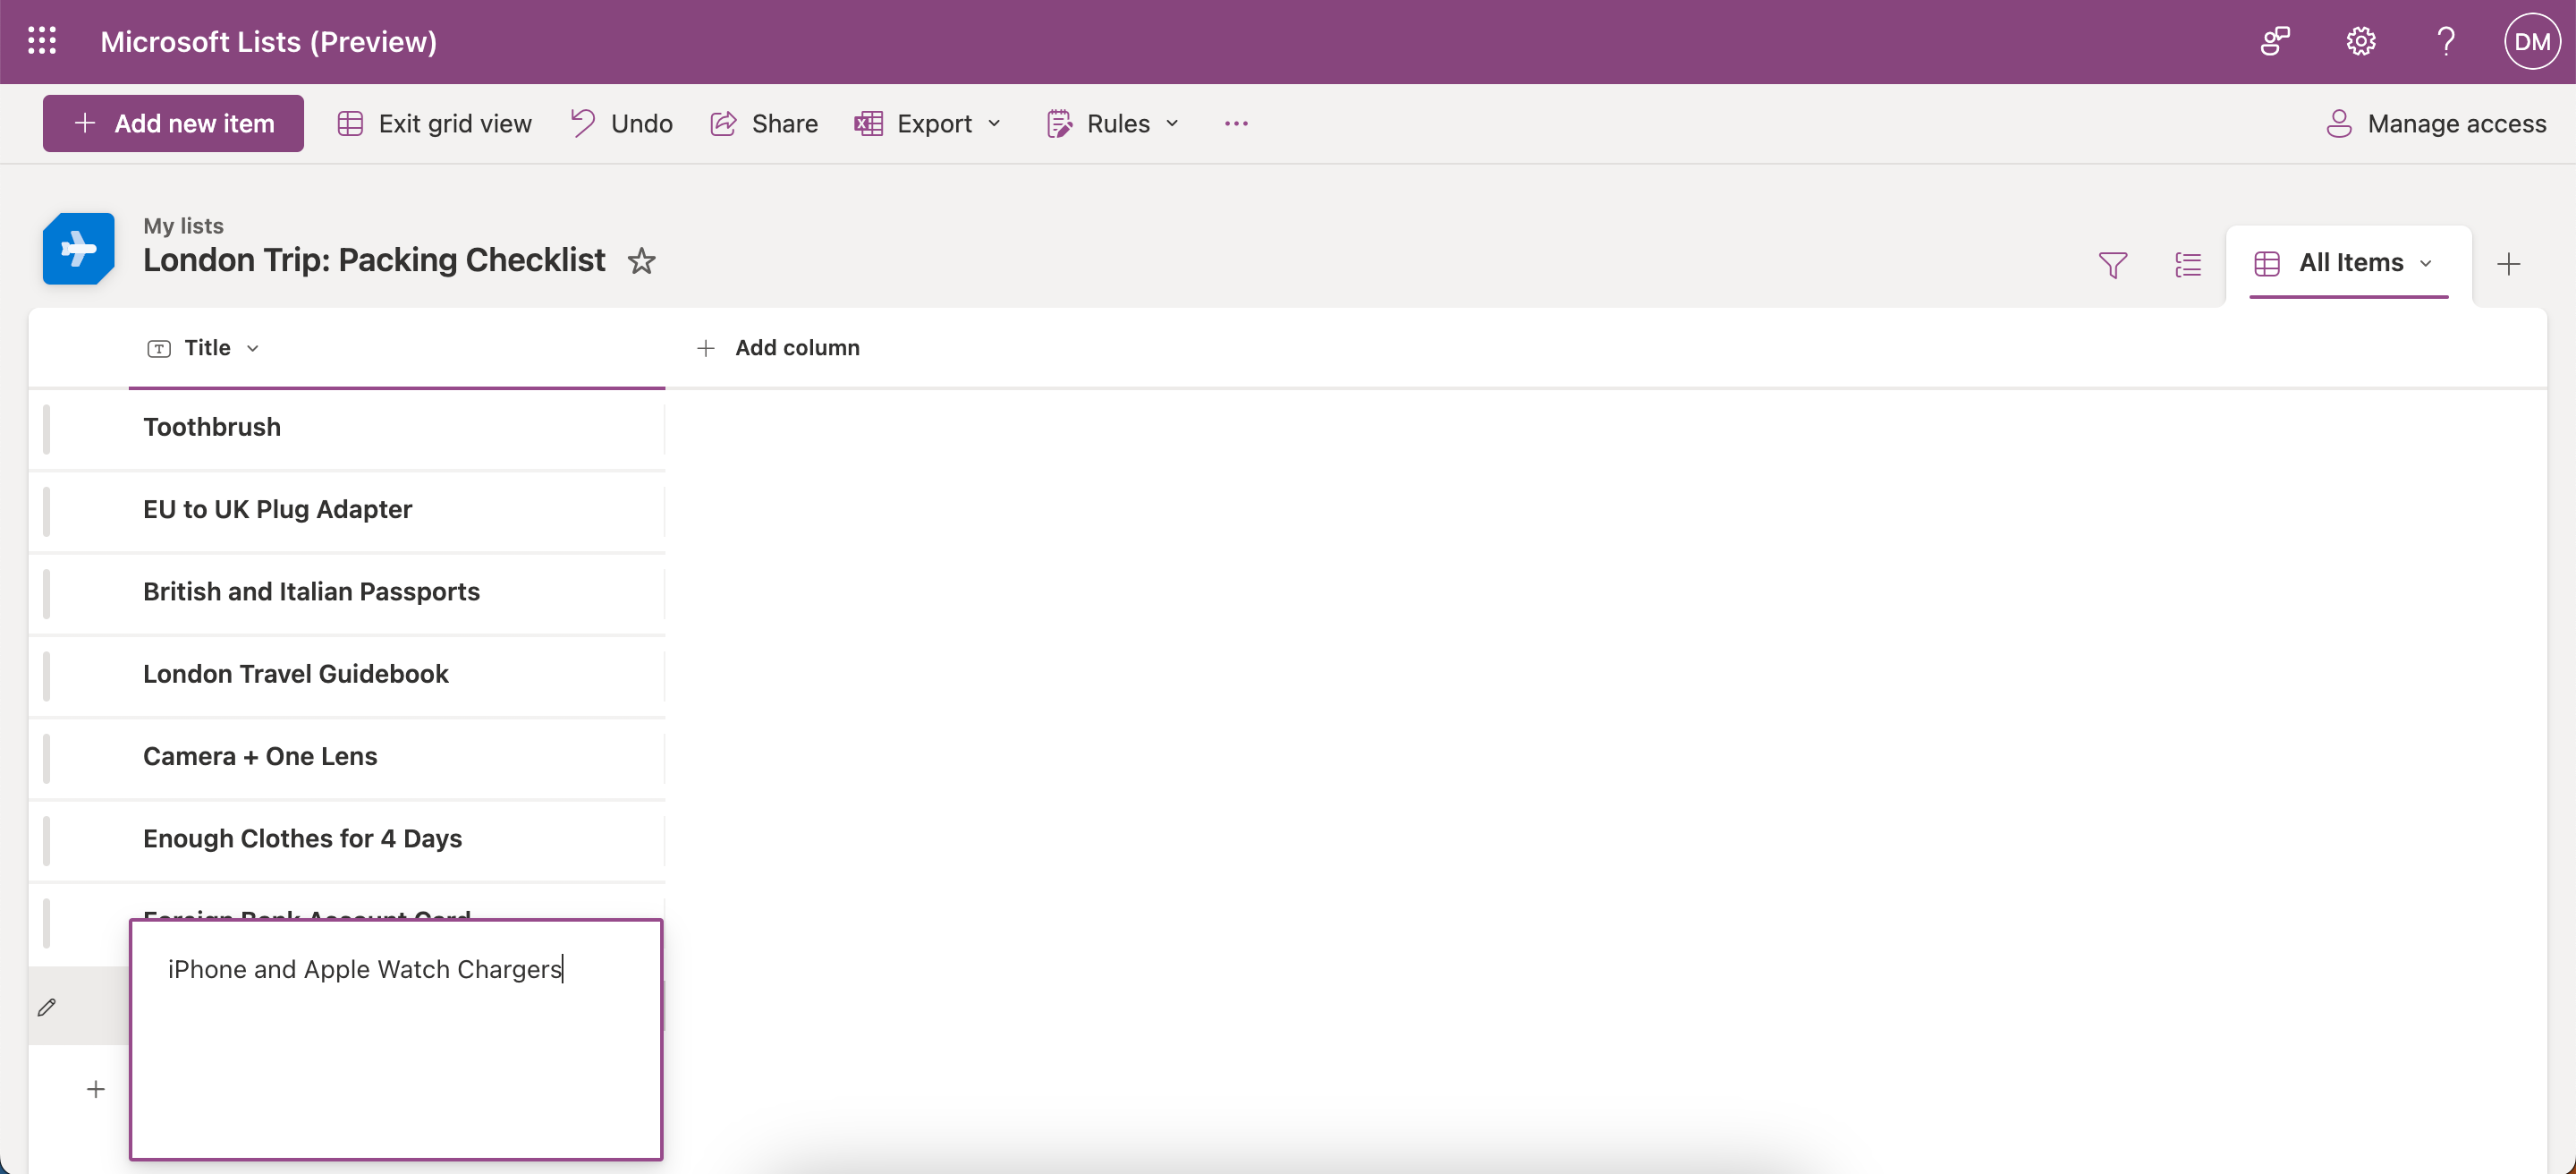
3. Adding List Items and Columns in Microsoft Lists
You can easily add new list items and columns when using Microsoft Lists. First, let’s look at how to add items to your list:
- Go to a list you’ve created or add a new list.
- Select Add new item.
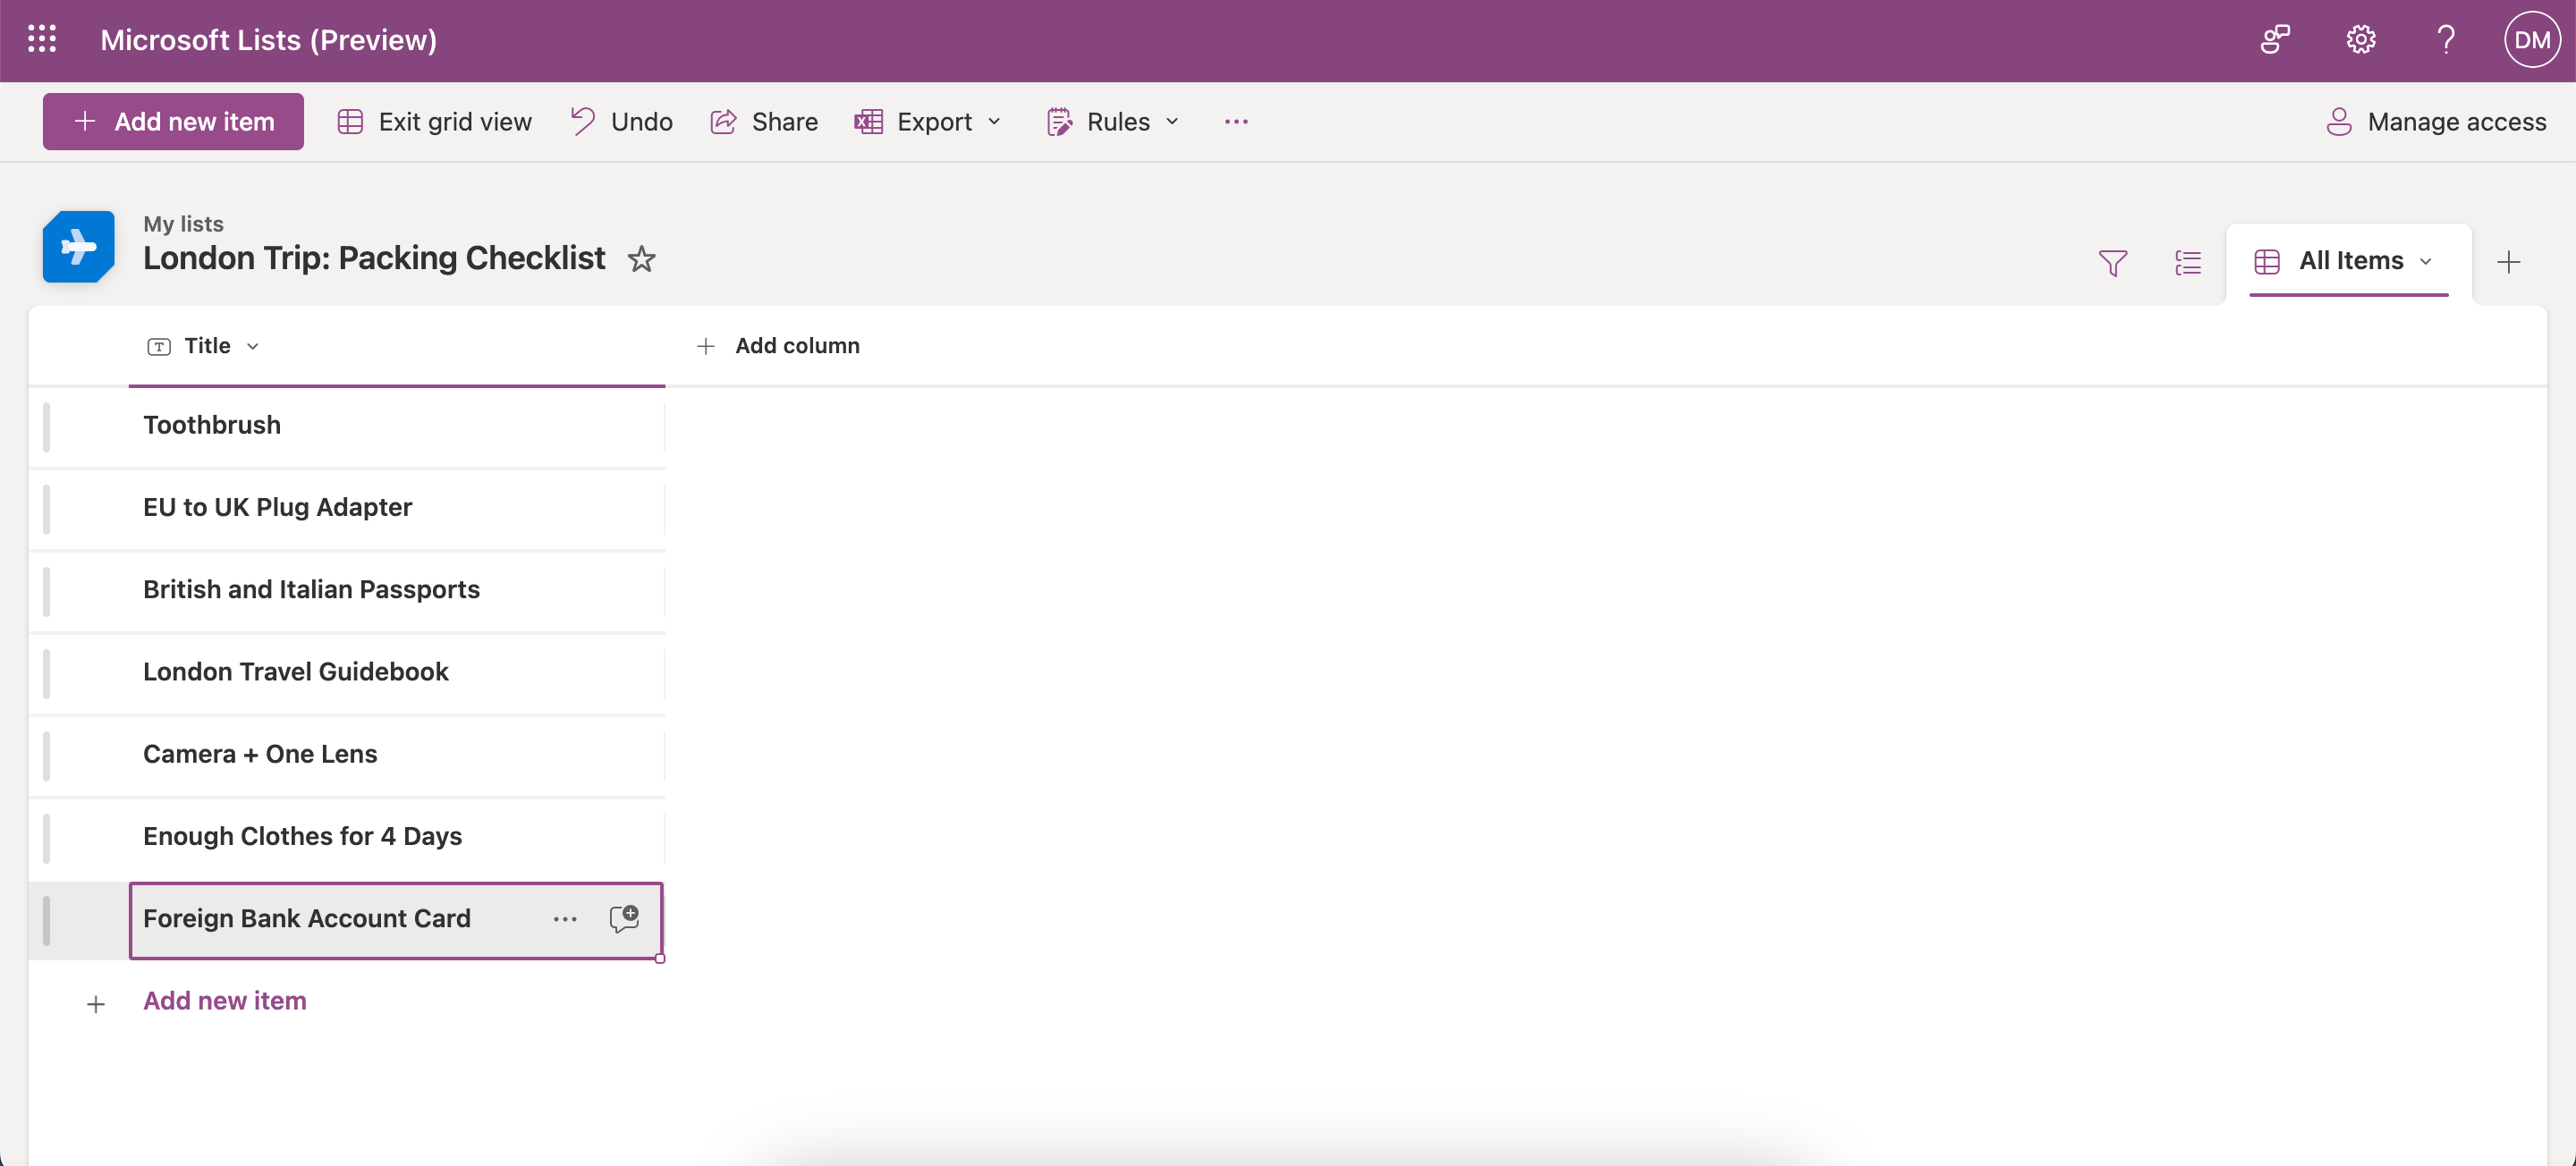
- Enter the text you would like to add, before hitting the Enter key to add it to the list.


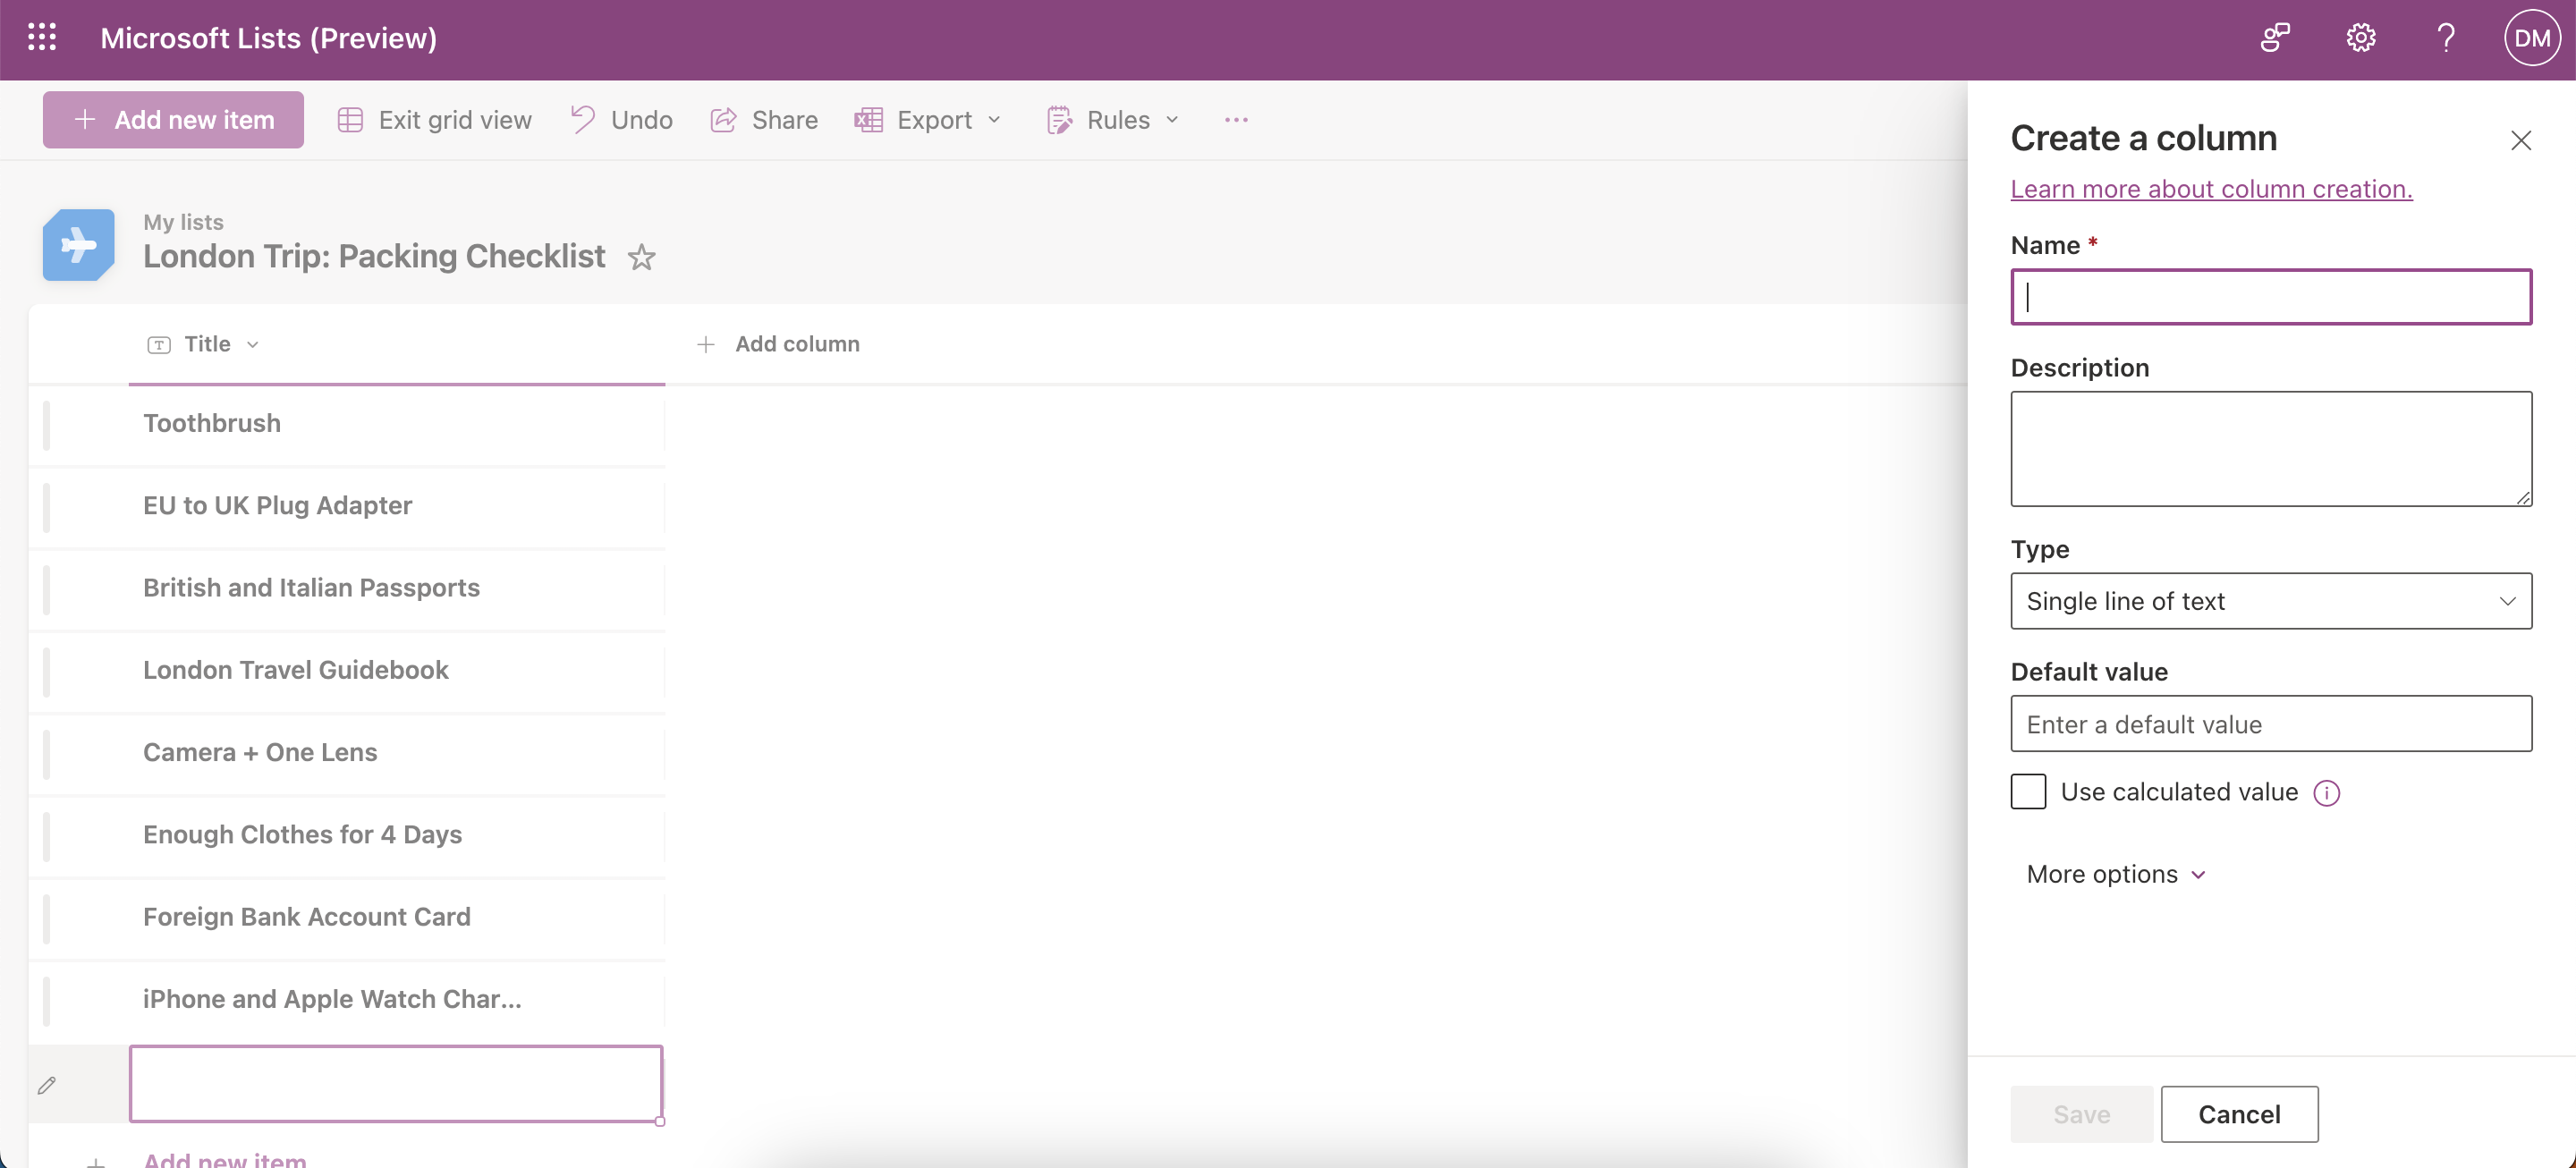
You should add columns if you need to collaborate with multiple people. They’re also useful if you want to add different sections to your list in general. Follow these steps to add a column:
- Go to Add column.
- Choose the content type you want to include in your column and tap Next.
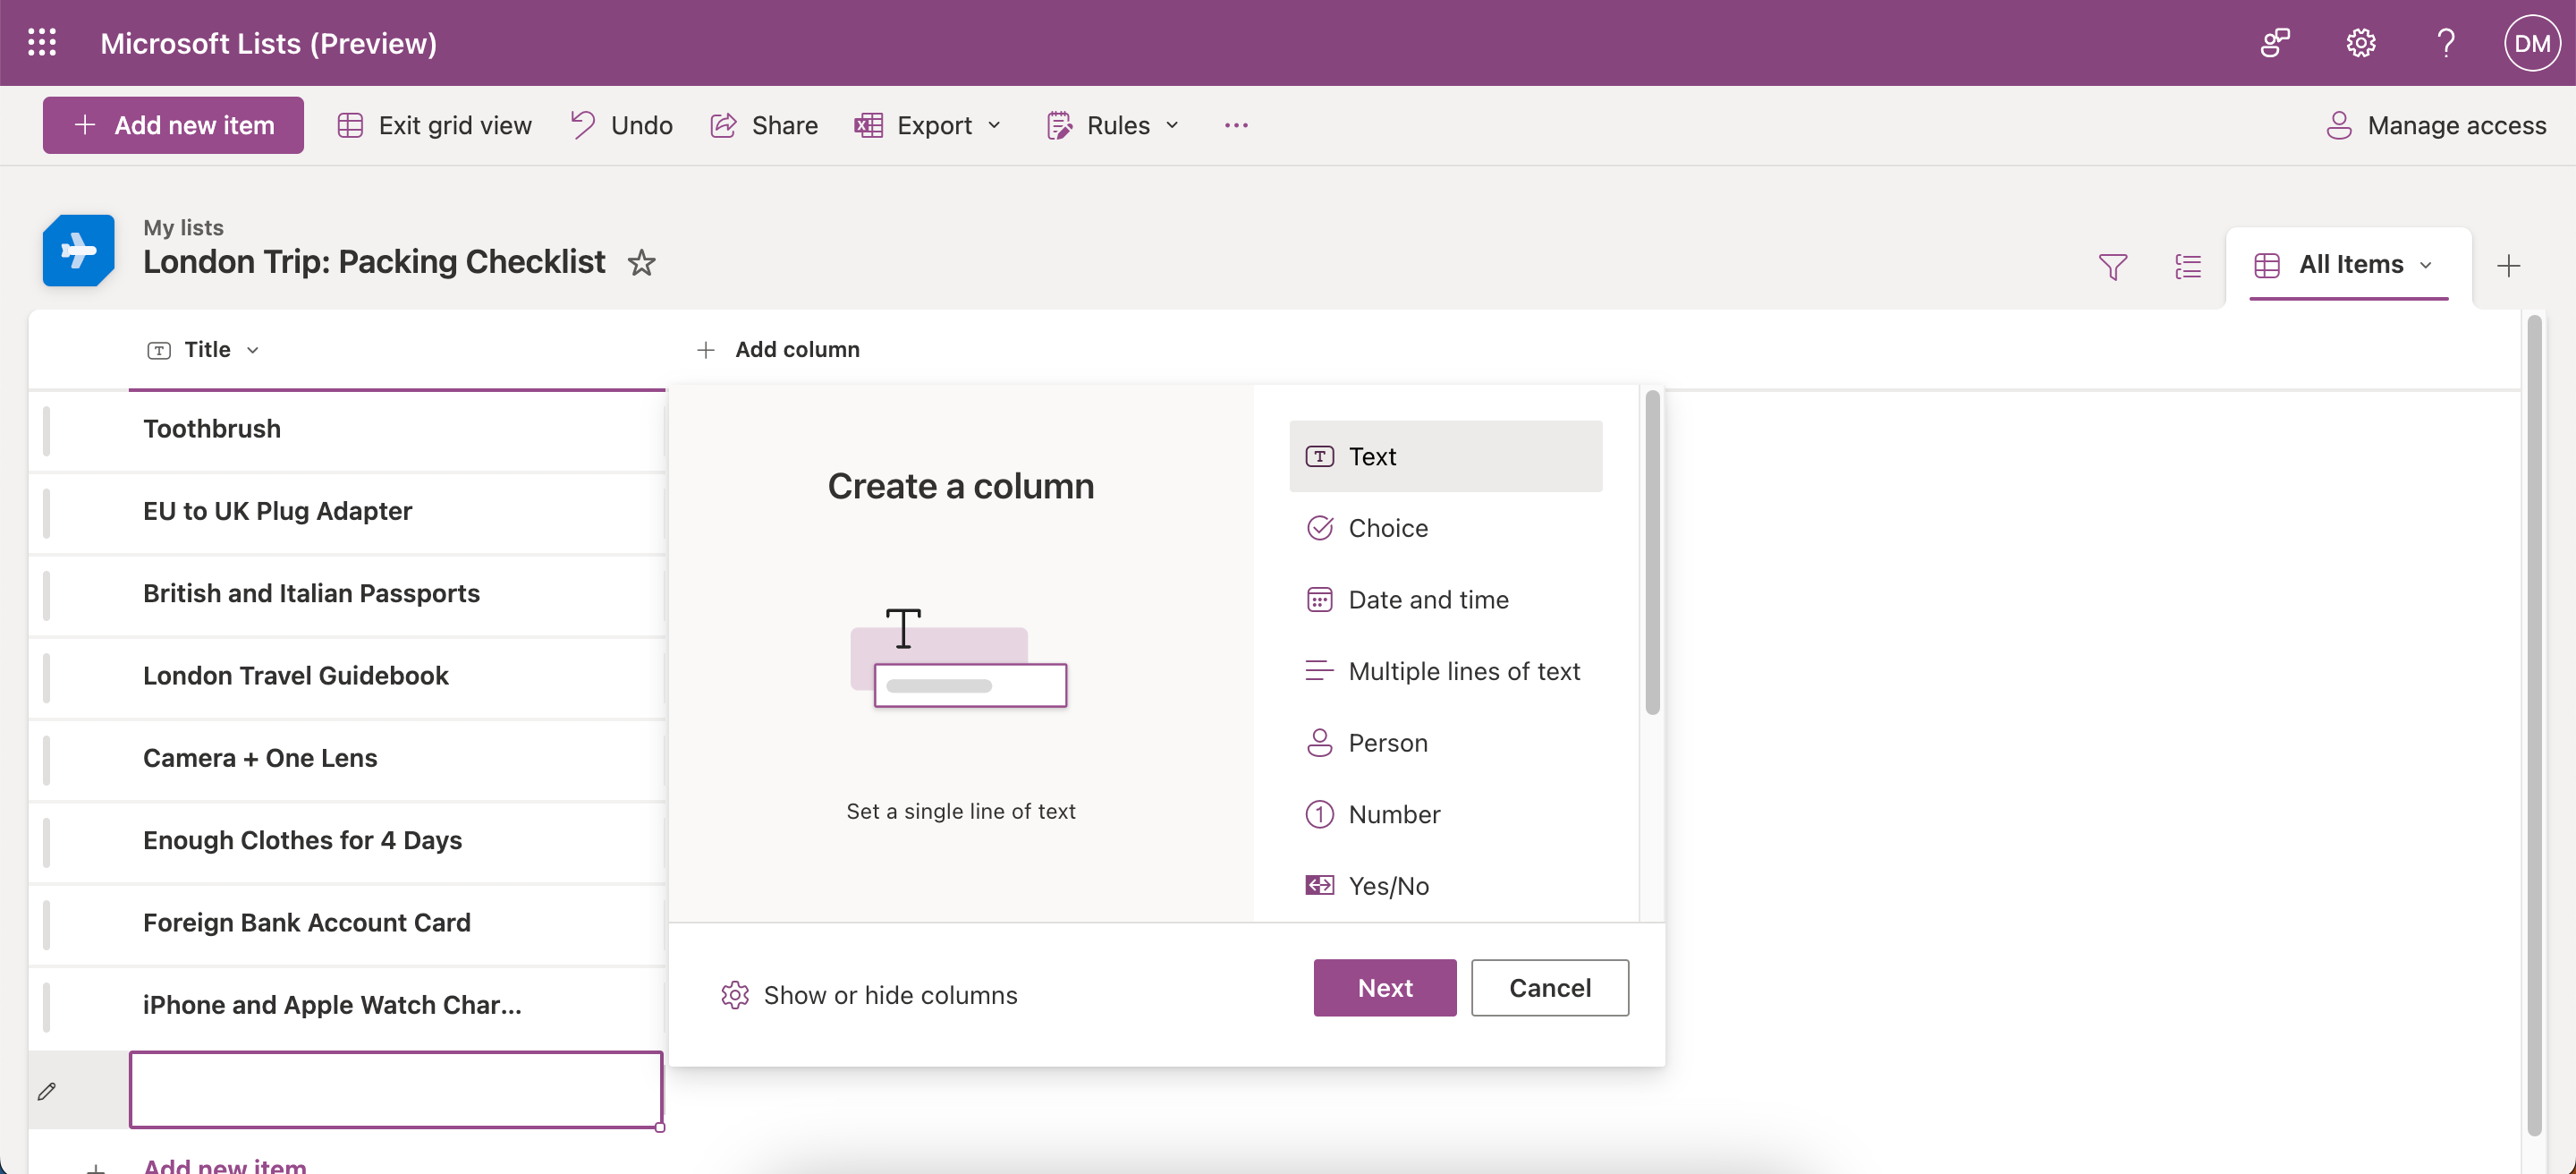
- Give your new column a name and description. Then, tap Save.


To get more out of your Microsoft Lists experience, check out our guide on the best ways to organize your workflow using Microsoft Lists.
4. How to Share Your Microsoft Lists With Others
Regardless of why you need to share your Microsoft Lists with others, doing so is very easy. Follow these instructions to do so:
- Open the list you want to share with others in Microsoft Lists.
- Tap the Share icon at the top of your screen.
- When the next window appears, start by tapping the cog icon next to Copy Link. Here, you can change the permissions you give to other users.

- Change your permissions and tap Apply when you’re happy with your choices.
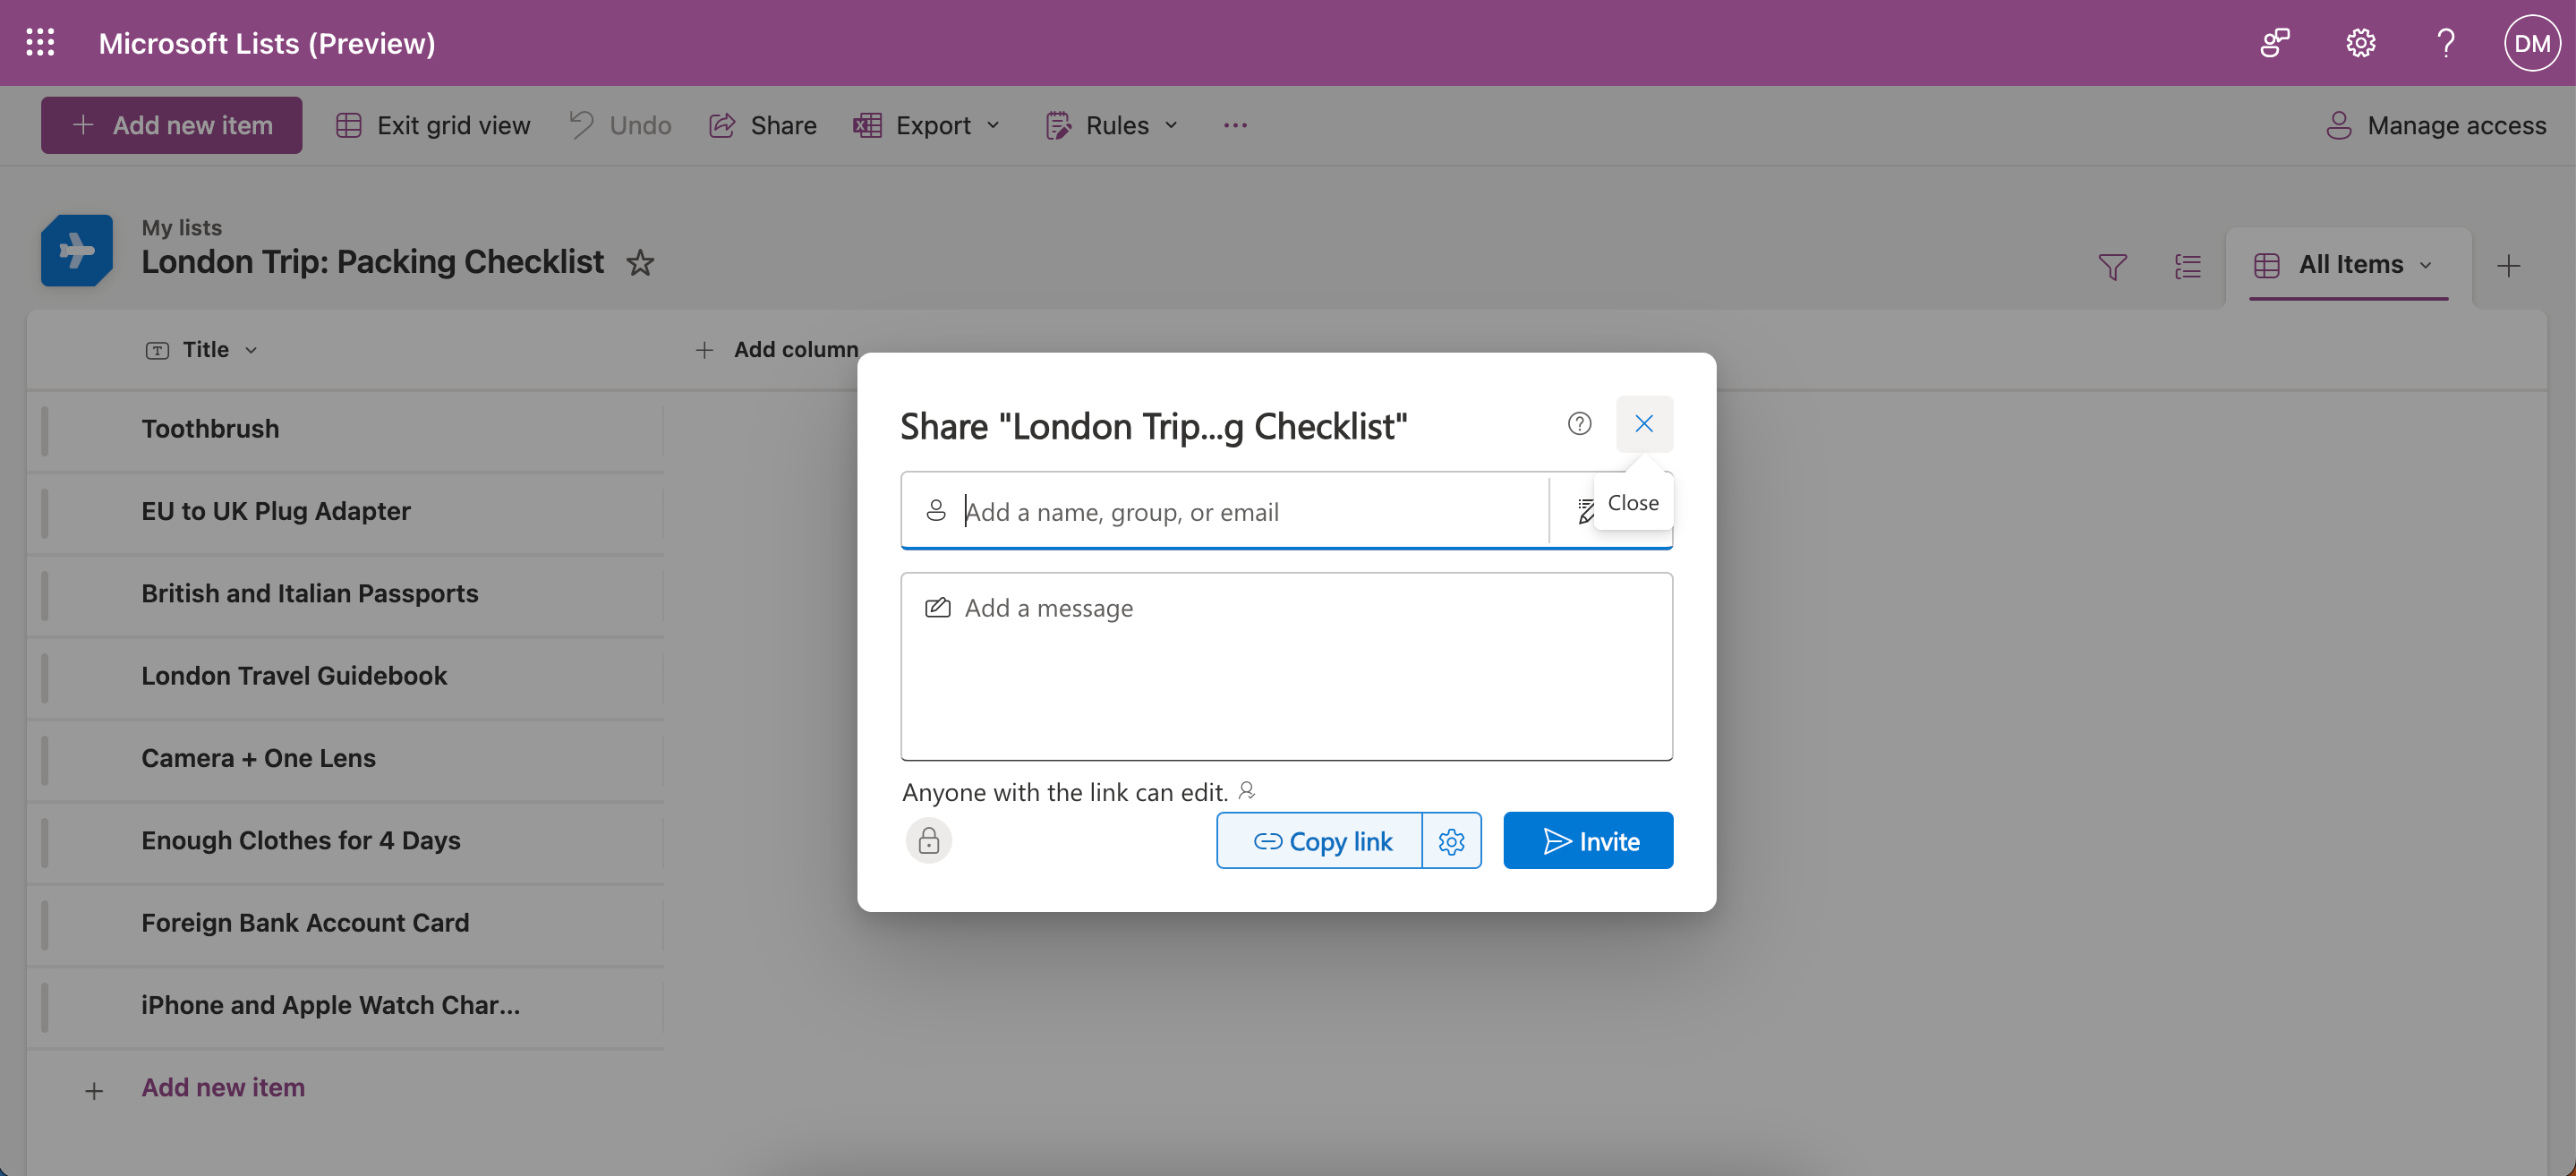
- Once you’ve returned to the main screen, enter the names or email addresses for everyone you want to invite. Enter a message if you feel like you need to, and tap Invite when you’re ready to share your list.


5. How to Use Microsoft Lists’ Pre-Designed Templates
You can easily use Microsoft Lists’ pre-designed templates for professional or study purposes. Here’s how to do that:
- Select New list.
- Choose the template you want to work with and select Use template.
- Customize your template’s icon, name, and so on before tapping Create.
- Wait for Microsoft Lists to create your template. When it does, fill out the different sections however you want.


Whether you want to edit your personal lists or share more complex projects with others, Microsoft Lists has plenty of features to use for free. All you need to do is sign into—or sign up for—a Microsoft account. Try out the tool and see what you can do with it.